
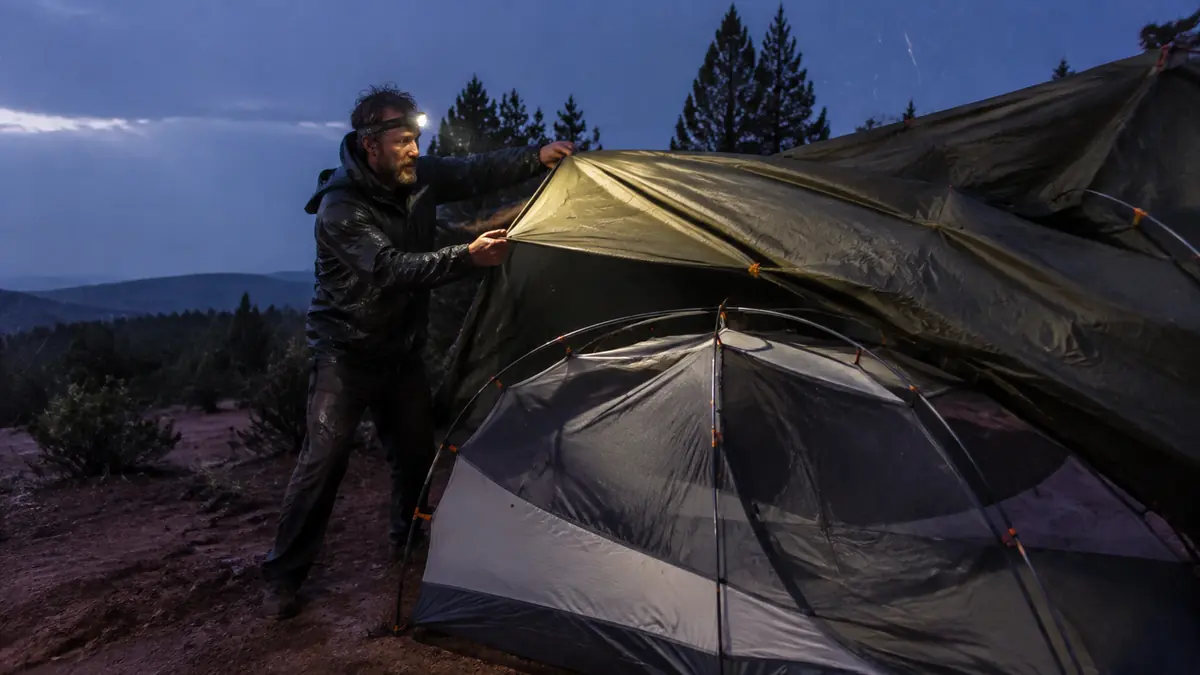
The worst pitch of my life happened on a ridge above Beavers Bend, rain coming in sideways, wind gusting hard enough to fold a tent pole flat, and my inner tent soaked through before I'd even gotten the second pole crossed. That trip taught me that most people who try to pitch a dome tent in the rain do it exactly backward, and it costs them a dry night every time. Learning to pitch a dome tent in the rain the right way isn't about moving faster. It's about moving in the right order, and that order is the entire difference between crawling into a dry bag at 9pm and wringing out your socks at 2am.
I've pitched a lot of tents in weather that had no business letting me stay dry, but the setup I keep coming back to for this method is the Amazon Basics dome tent. The fly covers the whole body of the tent corner to corner, and the pole sleeves are simple enough to thread with cold, wet hands fumbling at the clips. This guide walks through the same five steps I use anytime a storm beats me to camp, whether that's with the Amazon Basics tent or any other 3-season dome with a full-coverage rainfly. None of it is complicated, but the order matters more than most campers ever give it credit for.
Don't let the storm win before you've even got a stake in the ground.
The Amazon Basics dome tent's fly covers the full body of the tent, which is the single biggest reason this method works as fast as it does. It's the tent behind this method, and the one I reach for every time the forecast turns.
Amazon Check Today's Price on Amazon →Step 1: Read the Ground and Pick a Site That Won't Pool
Before you pull a single pole out of the bag, spend thirty seconds reading the ground you're about to commit to. Look for a spot with a slight grade, not dead flat, so water has somewhere to run besides straight into your tent floor. Flat ground feels like the safe choice, but flat ground with no drainage is exactly where a puddle forms under you at 3am.
Kick at the duff with your boot heel before you settle on a site. If you hit a spongy layer of moss or leaf litter that's already saturated, move. That ground has been holding water for a while and it'll keep holding it, right underneath your sleeping pad. I also glance uphill for any obvious runoff channel, a shallow depression or a worn line in the dirt, because that's where rainwater is going to travel once the storm really opens up, and I don't want my tent sitting in its path.
Tree canopy helps in a light rain by knocking down some of the volume before it hits your fly, but in a real downpour it just delays the soaking and then dumps big drops off the branches long after the rain itself has slowed. I'll take partial cover if it's what's available, but I never pick a site under a dead limb or a widow maker just to stay a little drier for twenty minutes. A dry night isn't worth a cracked skull, and a lot of storm damage shows up in the canopy long before it shows up on the ground.
Step 2: Stage Your Gear Dry Before You Touch the Tent
This is the step almost everybody skips, and it's the one that saves you the most misery. Before anything comes out of the truck bed or the pack, get your tarp up or your tailgate down and lay out the tent bag, the pole bag, and the stake bag where they'll stay dry while you work. Digging through a soggy stuff sack for stakes halfway through a pitch wastes minutes you don't have.
Lay the footprint or groundsheet down first and stake the corners immediately, even before you've unrolled the tent body. A loose footprint in wind will cartwheel into the tree line the second you look away, and chasing it down costs you the dry window you were trying to protect. I keep my sleeping bag and dry clothes in the truck or under the tarp until the tent itself is fully weatherproofed. Nothing goes inside until the fly is on and staked.
If I know rain's coming before I even leave the trailhead, I'll pack the tent so the fly is on top and easiest to grab first, poles right behind it. That small packing decision at home saves real time at camp when your hands are cold and you're working against a clock you can't see. I also stuff a dry rag or small towel in the same outer pocket as the fly, since drying off a wet zipper pull before you thread it saves fumbling that costs precious seconds.
Step 3: Assemble Poles and Inner Together, Then Get the Fly On Within Ninety Seconds
Here's where most people lose the pitch. The instinct is to fully clip the inner tent to the poles, stake every corner, get it standing pretty, and then dig the fly out of its own stuff sack. In dry weather that's fine. In rain, every one of those minutes is mesh soaking through. I connect the poles first, off to the side or under the tarp if I can manage it, then clip the inner tent onto the assembled pole structure as one quick motion instead of one clip at a time while it's already standing exposed.
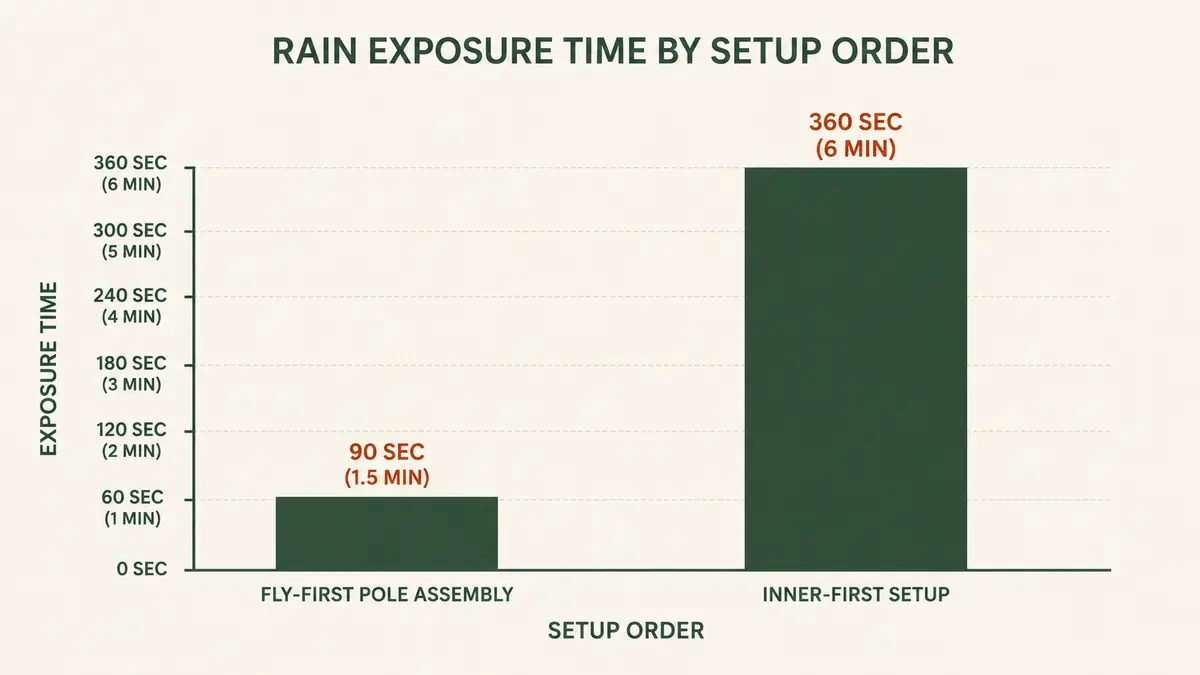
The moment the inner is up on its poles, even before it's staked down, the fly goes on. With the Amazon Basics tent's full-coverage fly, that means the mesh body is under cover in well under two minutes from the first pole going together. I've timed it on a stopwatch out of curiosity more than once: the inner mesh sees roughly 90 seconds of open rain when you build poles and fly together in that order. Set the inner up fully first, stake it, fuss with it, and then reach for the fly, and you're looking at closer to 6 minutes of that mesh sitting exposed and absorbing water the whole time.
That gap between 90 seconds and 6 minutes doesn't sound like much until you're the one wiping down a damp sleeping bag because water wicked through the inner wall before the fly ever went over it. Order of operations is the whole trick here, not speed of hands. I'd rather move deliberately in the right sequence than rush through the wrong one.
Step 4: Stake and Guy the Fly So It Never Touches the Inner
Once the fly is draped over the frame, stake the four corners first to lock the shape, then move to the guy points. A rainfly that's just draped and clipped but not pulled taut will sag toward the inner tent, and anywhere fabric touches fabric, water finds a way through by capillary action even on a fly that's otherwise doing its job perfectly.
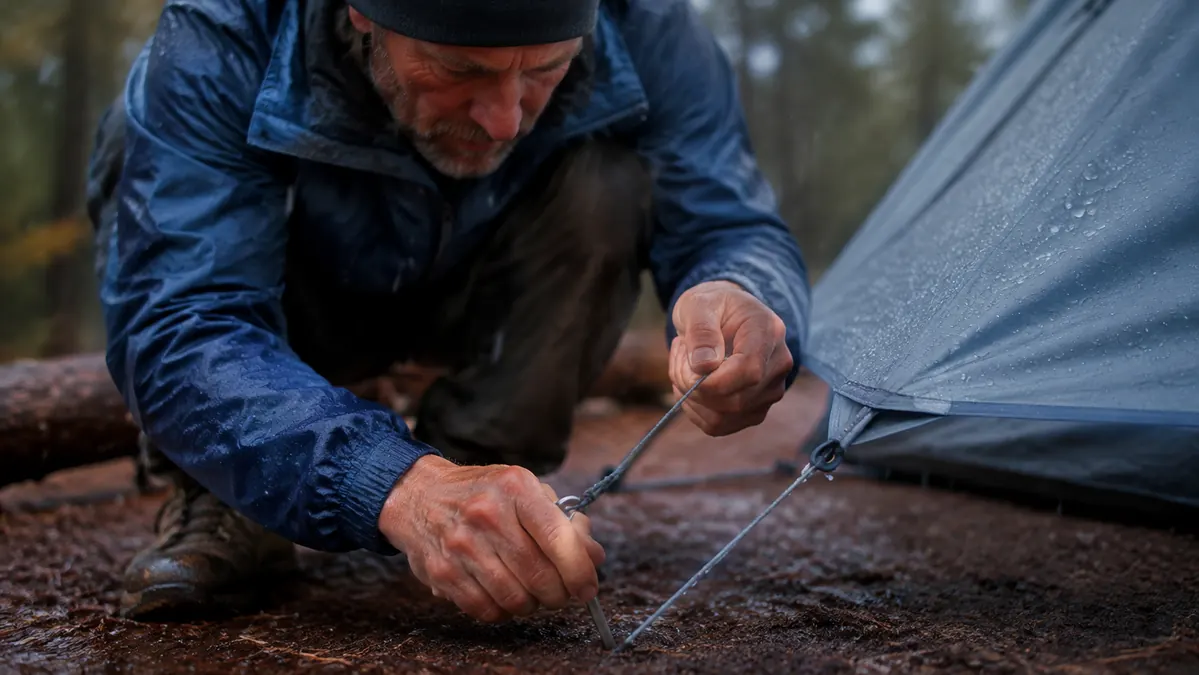
Pull each guyline out at roughly a 45 degree angle from the tent body and set the stake at a slight lean away from the tent, which holds better under load than a straight vertical stake. A taut-line hitch on each guy point lets you tension it without retying, which matters a lot when you're adjusting stakes with wet, half-numb fingers. Check the gap between the fly and the inner wall by hand at each panel. You want a clear two to three inch gap all the way around, not just at the corners.
If the ground's soft from the rain already falling, add extra stakes at the mid-panel loops even if the tent didn't come with dedicated guy points there. A couple extra stakes now beats a fly slapping against the inner all night in gusting wind, which will eventually push enough water through to soak a sleeping bag pressed against that wall.
Step 5: Manage Condensation and Keep the Vestibule as Your Wet Zone
Once you're set up dry, the next fight is condensation, not rain. Crack the vents on the fly even in a downpour. It feels counterintuitive to open anything when it's raining sideways, but trapped, warm, humid air inside a sealed tent will condense on the inner walls just as fast as rain will soak through a bad pitch. A little airflow through the high vents keeps that moisture moving out instead of dripping back down on your gear.
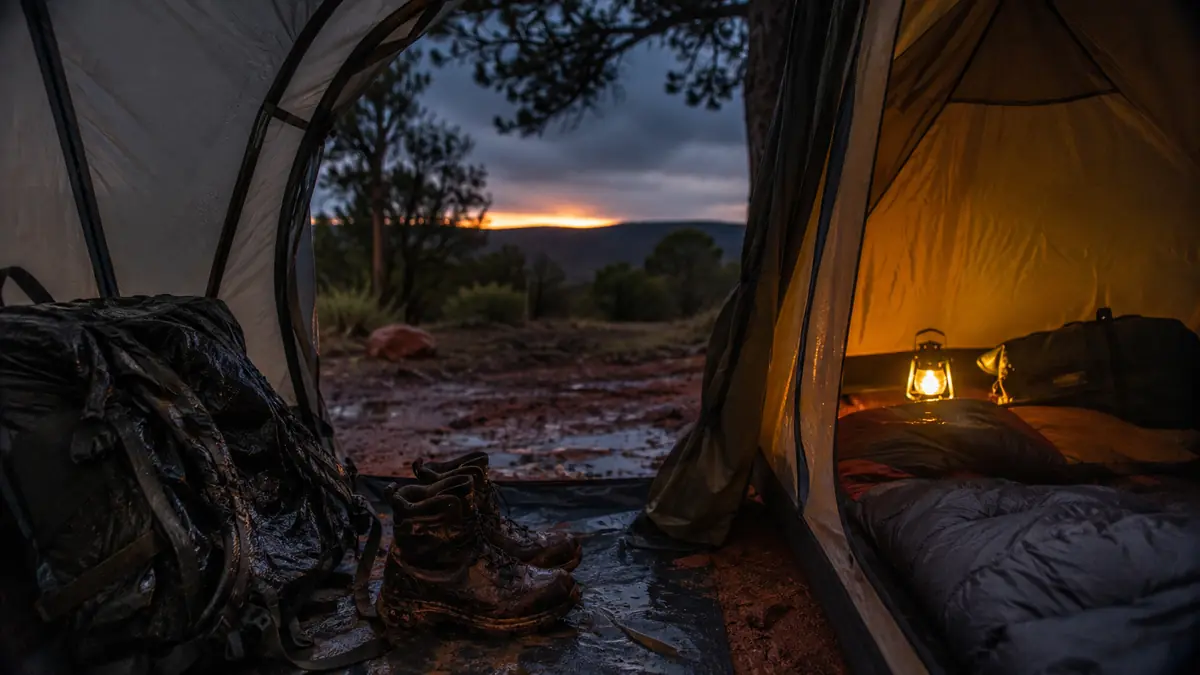
The vestibule is your wet zone, and I treat it like a hard line. Boots, packs, wet jackets, anything that touched the outside world tonight stays in the vestibule and never crosses into the sleeping area. That one habit does more to keep a tent livable through a multi-day rain than almost anything else on this list, because it stops you from tracking standing water onto the floor every time you come in for the night.
If condensation builds up on the inner ceiling overnight, a bandana wiped along the panel before it drips is worth the two minutes. I keep one clipped near the door specifically for that job, since reaching for a dry shirt sleeve at 2am just turns your shirt into the next wet item you have to deal with. A small microfiber towel works just as well and dries out faster than cotton by morning.
What Else Helps
Getting the tent up dry is only half the job. Drying it out properly once you're home matters just as much, and it's the step most people skip entirely. Never stuff a tent that's still damp straight into its bag for storage. Set it up in the garage or hang the fly and inner separately until they're bone dry, which usually takes a full day even after a night that felt dry inside. A tent packed away damp grows mildew in the seams within a couple weeks, and once that smell sets in it's nearly impossible to fully get rid of. I learned that the hard way with a tent I lost to mildew after one rushed pack-up job.
This is also why a dome shape holds up better through weather than some of the alternatives out there. The curved panels shed water instead of pooling on flat roof sections, and that's part of why this tent shape holds up in weather that would beat a boxier design. A quick wipe-down of the zippers with a dry cloth before storage keeps them running smooth, and a light silicone spray on the fly seams once or twice a season keeps the waterproof coating doing its job for years instead of one wet trip. I check the floor seams the same afternoon I take the tent down, while any weak spots are still fresh in my mind, rather than waiting until the next trip when I'll have forgotten exactly where the leak was.
The tent doesn't keep you dry. The order you set it up in does. Get that right and the gear just does what it's built to do.
Five steps, one dry tent, no soaked sleeping bag at midnight.
Stage your gear, build poles and fly together, stake it taut, and keep the vestibule as the wet zone. That's the whole method, and it's why the Amazon Basics dome tent has stayed my go-to whenever the forecast turns against me.
Amazon Check Today's Price on Amazon →