
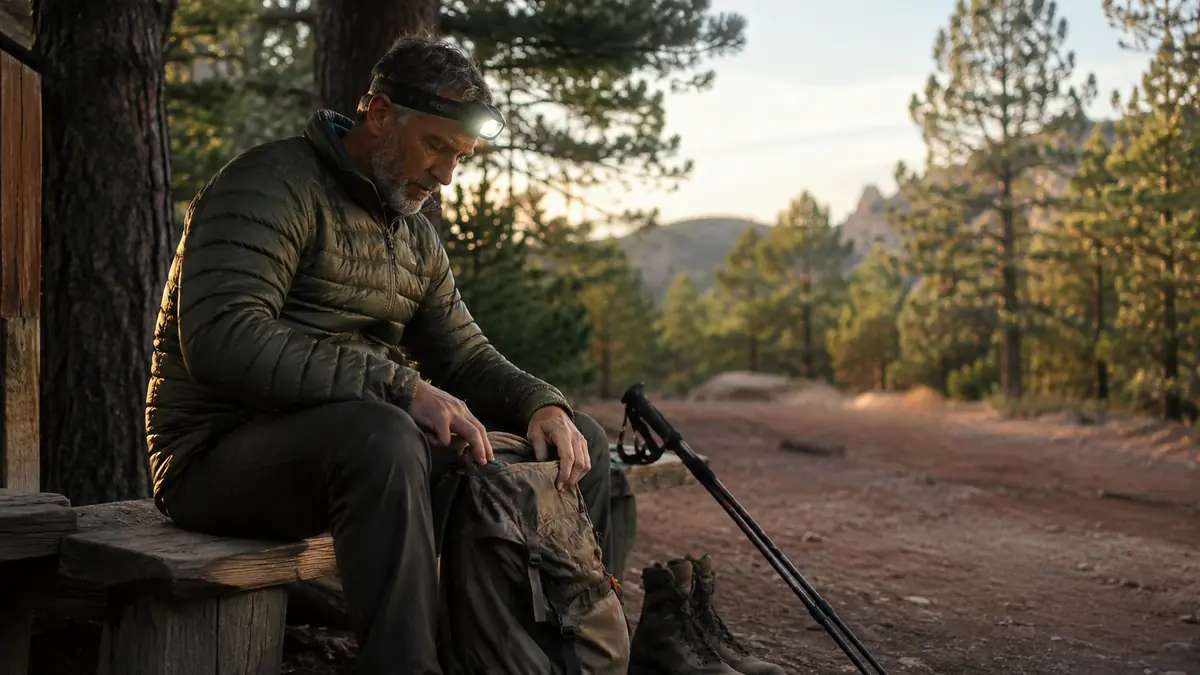
I've watched more people struggle on an easy trail because of a badly packed daypack than because of bad boots. A friend of mine showed up for a six-mile loop with a full liter of water sitting loose at the bottom of his pack, a jacket wadded on top of it, and his snacks buried underneath both. By mile two his back was sore in a spot that had nothing to do with distance and everything to do with how that pack was loaded. Learning how to pack a daypack for a day hike isn't complicated, but it's a skill almost nobody teaches you directly. You just pick it up the hard way, one uncomfortable hike at a time, unless somebody walks you through it first.
This guide is that walkthrough. I'll go step by step through load order, what actually belongs in a day kit versus what's dead weight, how much water to carry, layering for weather you didn't check closely enough, and the handful of things I've learned to never leave sitting in the truck. I pack a small G4Free daypack for most of my day trips these days, the 10L for short loops and the 15L when I'm carrying a bit more for a longer day, and I'll reference it throughout since the sizing math applies whether you're carrying that one or something similar.
A daypack that folds into your jacket pocket until you need it.
The G4Free 10L/15L is what I grab for most trailheads. It's light enough to forget you're wearing it and packable enough to stuff in a glovebox for the trips you didn't plan on taking.
Amazon Check Today's Price on Amazon →Step 1: Load Order, Heavy Close to the Spine
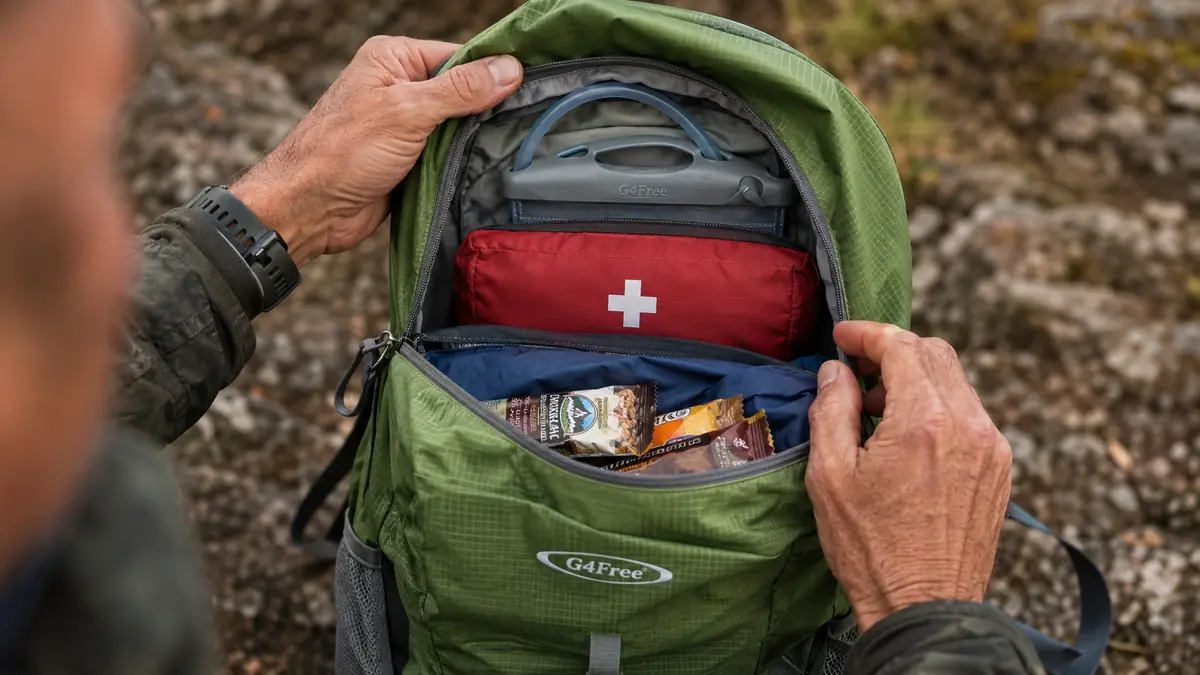
The single biggest mistake I see when someone packs a daypack for a day hike is loading it in the order they think of things instead of the order that keeps the weight where it belongs. Heavy items go close to your spine and centered between your shoulder blades, not down at the bottom and not pressed against the outer wall of the pack. A water bladder or bottle, your first aid kit, anything dense, that's what rides directly against the back panel.
The reasoning is simple physics, not gear-nerd fussiness. Weight sitting away from your spine creates a lever arm that pulls your shoulders backward and forces your lower back to compensate, which is exactly the kind of ache that shows up two hours into a hike and ruins the last three miles. Weight sitting low and loose does something similar, it swings the pack's center of gravity below your hips and makes every step feel less stable, especially on uneven ground or a rocky descent.
So the order I use, every time: dense and heavy items against the back panel and centered vertically between the shoulder blades, medium-weight items like snacks and extra layers around and above that core, and the lightest, bulkiest stuff, a rain shell or a packable jacket, on top where it's easy to grab without unpacking everything else. Anything you'll need without stopping, a map, a snack bar, sunglasses, goes in an outside pocket, which is the next step.
Step 2: What Actually Belongs in a Day Kit
There's a version of the ten essentials that gets recited like a checklist and never actually explained, so let me walk through the logic instead of just the list. You're not packing for survival, you're packing for the version of the day that goes a little wrong. That's the entire filter. Every item in a day kit answers a specific question: what happens if I'm out here two hours longer than planned, or the weather turns, or someone twists an ankle.
Navigation covers the "I took a wrong turn" scenario, a map and compass or a downloaded offline map on your phone, since cell signal drops fast once you're off the ridge. A headlamp covers the "this took longer than I thought" scenario, and it belongs in every daypack even on a hike you're certain will end by 2pm, because certain and correct aren't the same thing on a trail. First aid covers minor injuries, blisters, and the occasional bee sting. Extra layers cover weather. Extra food and water cover the day simply taking longer than the trailhead sign promised.
None of that needs to be heavy. A compact first aid kit, a two-ounce headlamp, a paper map folded into a side pocket, none of it adds real weight to a small daypack. What adds weight is duplicating things you don't need two of, or packing for a scenario that isn't realistic for the trail you're actually on. A 15L daypack has room for all of this plus a light layer and lunch without ever feeling stuffed, which is why I size up to the 15L on hikes past about six or seven miles.
Step 3: Water, and How Much Is Actually Enough
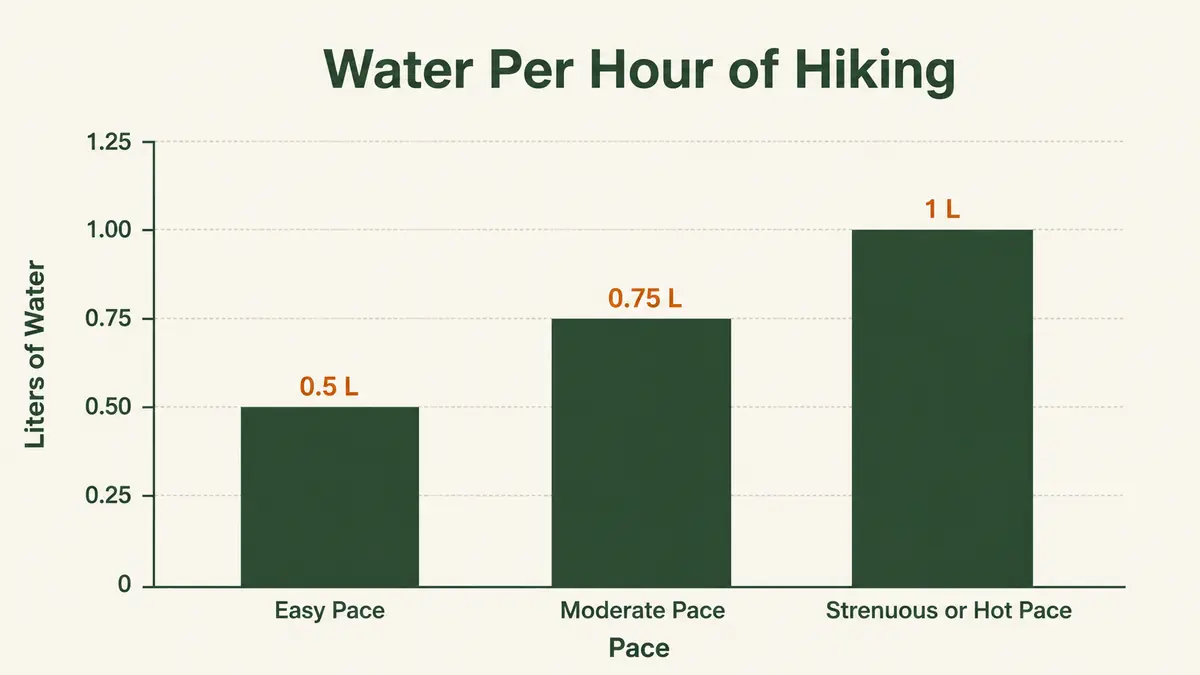
Water is the one place I see people either wildly overpack or dangerously underpack, and the fix is just doing basic math before you leave the truck. A reasonable starting point is half a liter, about 0.5 liters, per hour of hiking at an easy pace, closer to three-quarters of a liter, about 0.75 liters, per hour at a moderate pace, and a full liter, 1 liter, per hour if it's hot or the trail is genuinely strenuous. That's roughly the difference between a flat, shaded loop and a steep, exposed ridge in August.
So a four-hour moderate hike is somewhere around three liters, not the single 16-ounce bottle a lot of people grab out of habit. That sounds like a lot until you remember water is the heaviest single thing in your pack by volume, roughly 2.2 pounds per liter, which is exactly why load order matters so much. A daypack in the 10L to 15L range handles two to three liters comfortably along with the rest of a day kit, but it means being honest about the math instead of guessing.
If you're hiking somewhere with a reliable water source partway through, a small filter lets you carry less at the start and refill instead of hauling a full day's supply the whole way. But don't count on a water source you haven't confirmed is actually flowing. I've shown up to a "seasonal creek" marked on an older map that turned out to be bone dry, and the extra half liter I'd packed as a buffer is the only reason that hike didn't get uncomfortable.
Step 4: Layers for the Forecast You Didn't Get
Trailhead weather and ridge weather are two different forecasts, and a lot of people only pack for the first one. Elevation gain alone can drop the temperature five to ten degrees, and wind at an exposed overlook does more to your body heat than the number on your phone suggests. I pack a light insulating layer and a packable rain shell on basically every hike, even ones forecast bone dry, because a rain shell doubles as a windbreaker and weighs next to nothing folded down small.
The layer goes near the top of the main compartment, not buried under everything else, since it's the item you're most likely to need mid-hike without wanting to unpack the whole bag on a windy ridge. A compact daypack forces some discipline here in a good way, there just isn't room to overpack five layers you'll never wear, so you end up carrying the one versatile piece that actually earns its space instead of a duffel's worth of options.
Step 5: What Goes in the Outside Pocket
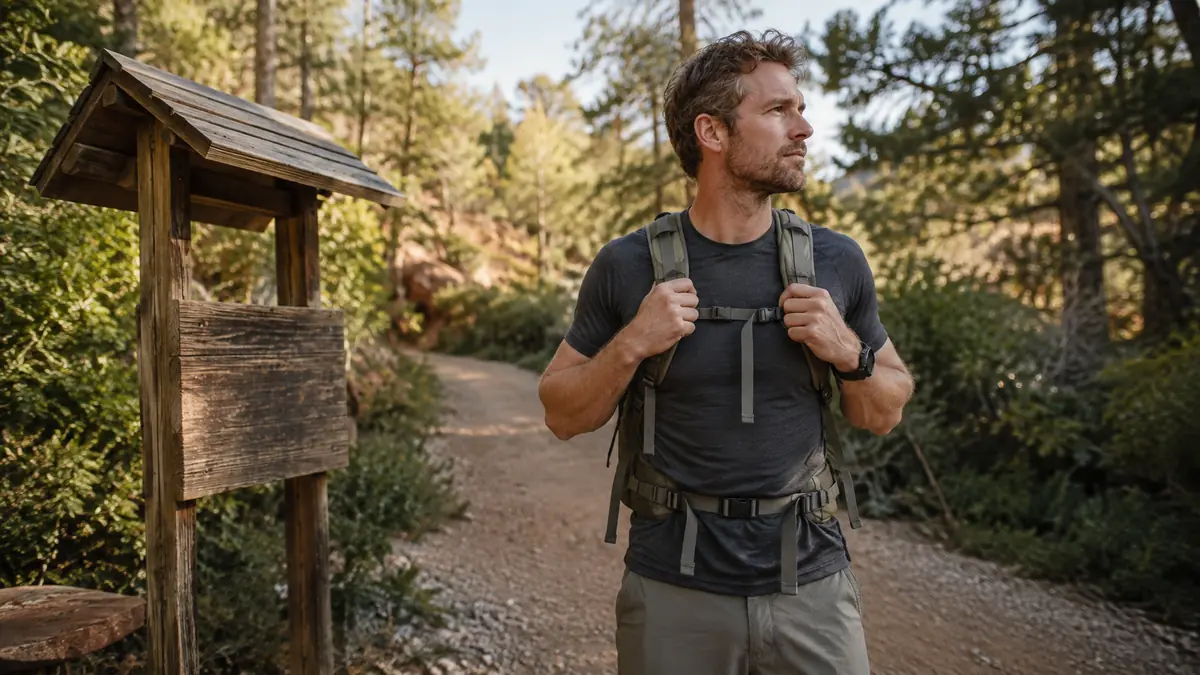
Anything you'll want without stopping and unzipping the main compartment belongs in an outside pocket or a hip belt pocket if your pack has one. That's your snacks, sunglasses, a small trash bag for wrappers, sunscreen, and your phone if you're using it for photos or navigation. The whole point of an outside pocket is access speed, if getting to something means stopping and digging through your first aid kit and rain shell, you'll stop reaching for it, and that includes water on a pack without a side bottle holster.
I keep a small water-resistant pouch in the front pocket of my G4Free daypack with exactly four things in it: a couple of electrolyte tablets, a folded trail map, a lighter, and a small multitool. None of that requires stopping to think about, I know exactly where it is because it never moves, and that consistency matters more on a bad day than on a good one. Pack the outside pockets the same way every single time and your hands learn where things are without your eyes needing to check.
Step 6: Adjust the Straps Once It's Loaded
A daypack packed correctly and worn badly still feels wrong. Once everything's in, put it on and adjust the shoulder straps so the pack sits snug against your back with no gap, then cinch the sternum strap if you've got one, usually an inch or two below your collarbone. If the pack has a hip belt, even a light one, it should carry some of the load off your shoulders, not just flap loose.
The pack should sit high and centered, not sagging toward your lower back. A loaded daypack that rides too low pulls your shoulders forward over a full day, which is a smaller version of the same problem that shows up when heavy items are packed away from your spine. Give the straps a final check about fifteen minutes into the hike too, since packs settle and straps that felt snug at the trailhead often need a small retightening once everything's compressed and moving.
What Else Helps
Trekking poles aren't part of the pack itself, but they change how much you notice the weight on a longer hike, taking a real amount of strain off your knees on descents. I keep the poles I strap to the side of my pack for anything with real elevation change, and clipping them to the daypack's side compression straps instead of carrying them by hand frees up a hand for water or a camera. If you're curious what I run day to day, I wrote up the pack behind this list in more detail, including what's held up and what I'd change.
One honest limitation worth naming, a small packable daypack like the 10L or 15L G4Free has a real load ceiling. It's built light on purpose, which means it's not the pack for a winter day hike where you're carrying snowshoes, or a scramble where you need a helmet and rope clipped outside. When a day's gear list runs past what a 10 to 15 liter pack can hold without straining the seams, that's the signal to step up to a proper 20 to 30 liter hiking pack with a real frame instead of forcing an ultralight daypack to do a bigger pack's job.
Nobody notices a daypack that's packed right. They only notice the one that's packed wrong, usually around mile three.
Small pack, right order, no wasted weight.
Load it heavy-near-the-spine, keep water and snacks where your hands expect them, and a small G4Free daypack handles most day hikes without ever feeling like a chore to wear.
Amazon Check Today's Price on Amazon →