
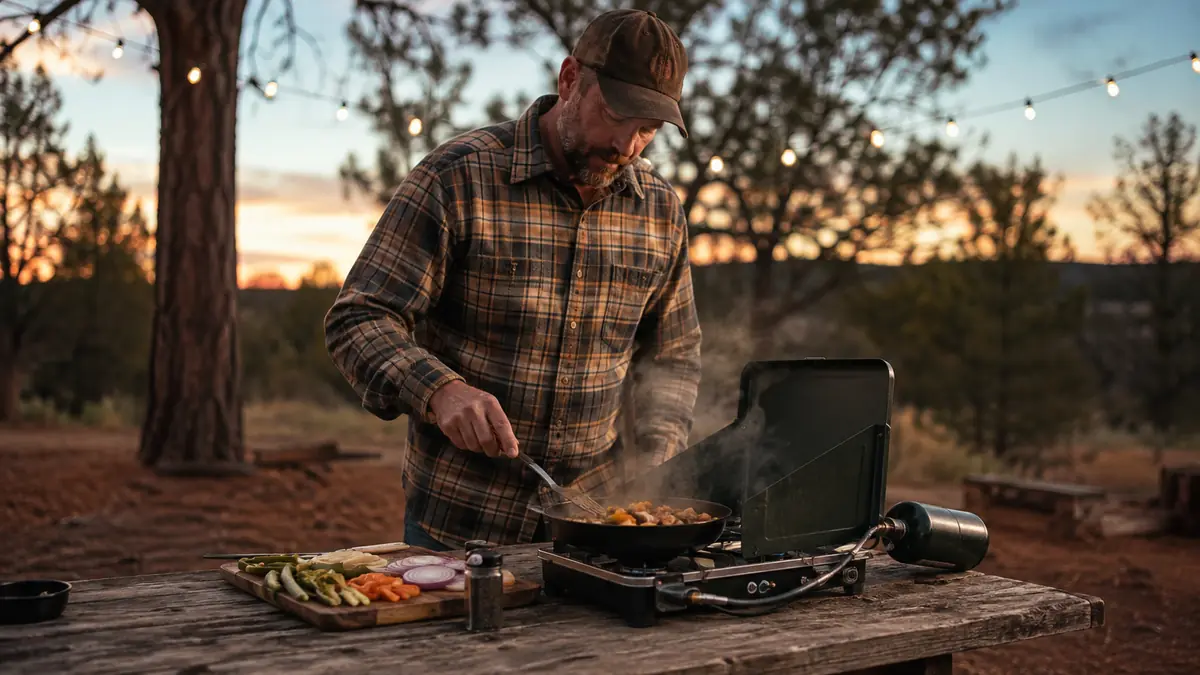
For years, camp dinner at my sites meant hot dogs on a stick or a can of chili balanced in the coals, scraped black on the bottom before anybody would eat it. Real camp meals, the kind you'd actually plate up and serve without apologizing for them, felt out of reach without a proper camp kitchen. The gap was never the recipes. It was heat control. Once I had a portable stove that let me hold a real simmer instead of guessing at fire distance and wind direction, camp cooking stopped being an afterthought and turned into one of my favorite parts of the trip.
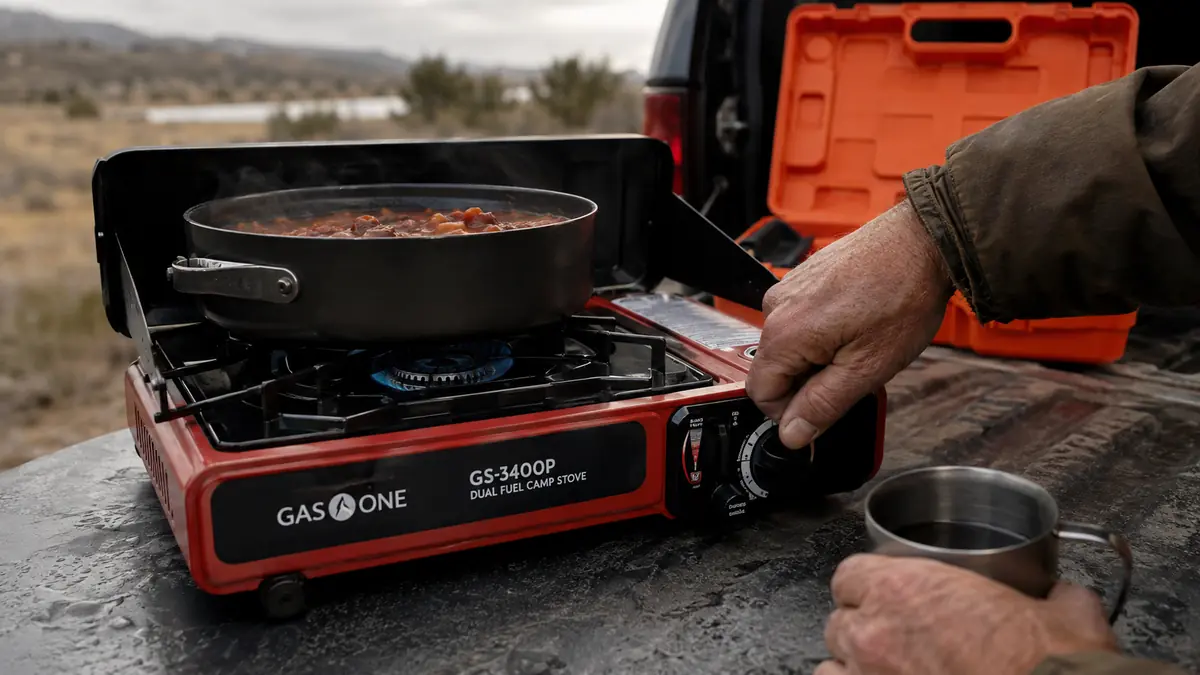
This guide walks through the same five-step process I use to turn a cooler of groceries into an actual dinner at camp, from setting up the stove and choosing fuel to plating and cleanup. I cook on a Gas One GS-3400P, a dual fuel single burner that runs off propane bottles or butane canisters depending on what's in the truck, and I'll reference it along the way. The technique underneath applies no matter what portable stove you're running, so use this as a working process, not a spec sheet for one piece of gear.
One burner, two fuel types, no fire ban to worry about.
The Gas One GS-3400P threads onto a standard propane bottle or a butane canister, so you're never stuck at a gas station with the wrong fuel in the truck. It's the stove behind these meals, and it rides along on every trip now, from a Tuesday night at the lake to a full week at deer camp.
Amazon Check Today's Price on Amazon →Step 1: Set Up on Stable, Wind-Blocked Ground
Before you light anything, find flat, solid ground away from dry grass, low-hanging branches, and anything that'll catch a stray spark. A tailgate, a picnic table, or a flat rock works fine. What you're avoiding is a wobbly base, since a pot of simmering chili on an uneven stove is how you end up wearing dinner instead of eating it. I set mine on the tailgate most trips because it's already at a comfortable working height and keeps the burner off the ground and out of any wind funneling low across a clearing.
Fuel choice matters more than people think before they've cooked a full camp meal on both. Butane canisters run clean and light easy, but they lose pressure and get sluggish to start once temperatures drop toward freezing. Propane bottles hold their pressure better in the cold and are easier to find at almost any gas station or hardware store along the way. That's the whole reason I run a dual fuel setup. Deer camp in November gets propane. A quick lake trip in warm weather gets whichever butane canister is already in the bag.
Once you're set up, check the connection is snug before you turn the valve. A loose canister or a hose that's rattling around isn't just annoying, it's a leak waiting to happen. If you've got any kind of breeze at camp, and you almost always do, angle the stove so the open side of any windscreen faces into the wind. A flame that's getting blown sideways wastes fuel and cooks unevenly, which is the fastest way to burn the outside of something while the inside stays cold.
Step 2: Preheat and Learn Your Heat Zones
Camp stoves don't all dial in the same, so before your first real meal, spend two minutes just turning the valve through low, medium, and high while a dry pan sits on the burner. Get a feel for how far you have to turn it to go from a lazy simmer to a hard boil. That five minutes of familiarity is the difference between confidently searing a piece of meat and standing there guessing while it burns.
Heat control is really the whole game with camp cooking. A hard boil scorches sauce and toughens meat. A proper simmer, where the surface just barely breaks with small bubbles, is what actually cooks rice through without gluing it to the pot or turns a can of beans into something that tastes intentional. Preheat your pan or skillet on medium for a minute or two before adding oil, then let the oil shimmer before food goes in. Cold pan, cold oil, and rushed camp meals go hand in hand.
With a single burner, you're managing one heat zone at a time, so plan your cooking order around that instead of trying to do everything at once. Get comfortable moving a pot on and off the flame rather than constantly cranking the valve up and down. Sliding a pot half off the burner is a faster, gentler way to drop the heat than fighting with the dial mid-cook.
Step 3: Cook Proteins and Grains Safely
Food safety starts before the stove is even lit. Keep raw meat in a sealed bag or container at the bottom of the cooler, below anything you'll eat without cooking, so a leak in transit doesn't drip onto tomorrow's sandwich bread. Pull meat out of the cooler only when you're ready to cook it, not an hour ahead to thaw on the tailgate in the sun. A portable stove can put out plenty of heat fast, so there's rarely a good reason to let meat sit out warming up before it hits the pan.
Camp is not the place to get casual about raw meat. Use a separate cutting board or at minimum a separate plate for raw chicken or ground beef, and never let raw juices touch produce, bread, or anything that's already cooked. Wash your hands or use sanitizer between handling raw meat and touching anything else. It sounds obvious sitting at home, but it's the first thing people skip when they're tired, hungry, and working off one small folding table.
Cook poultry until it reaches 165 degrees internally, ground meat to 160, and whole cuts of beef or pork to at least 145 with a short rest before cutting. If you're not carrying an instant-read thermometer, which is small enough to toss in the same bag as your spices, cut into the thickest part and check that juices run clear with no pink at the center. A portable stove gives you steady, controllable heat, which makes hitting these numbers a lot easier than trying to judge doneness over uneven fire coals.
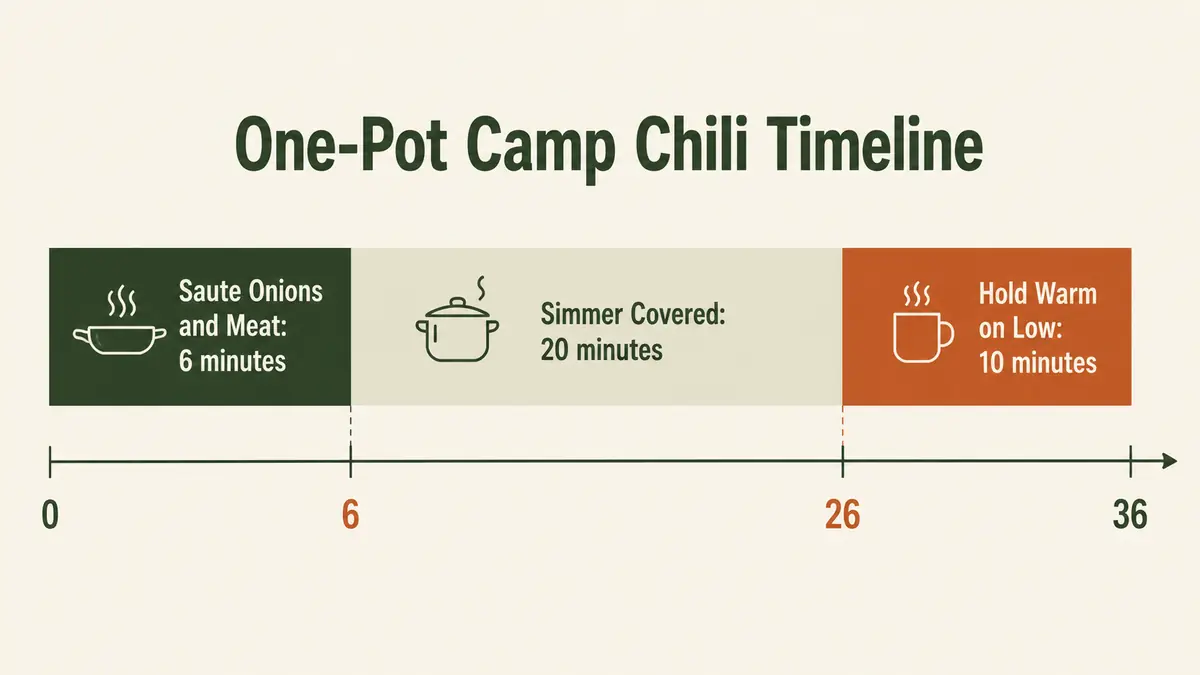
For a one-pot camp chili, a meal that comes together well on a single burner, I saute the onions and ground meat first for about 6 minutes on medium-high, until the meat is fully browned with no pink left. Then I add beans, tomatoes, and seasoning, drop the heat to a low simmer, and let it go covered for 20 minutes, stirring occasionally so nothing sticks to the bottom. Once it's done, I hold it warm on the lowest setting for another 10 minutes while I finish anything else, which also lets the flavors settle. That's a full, real dinner off one burner in well under an hour.
Step 4: Sequence a Multi-Pot Meal
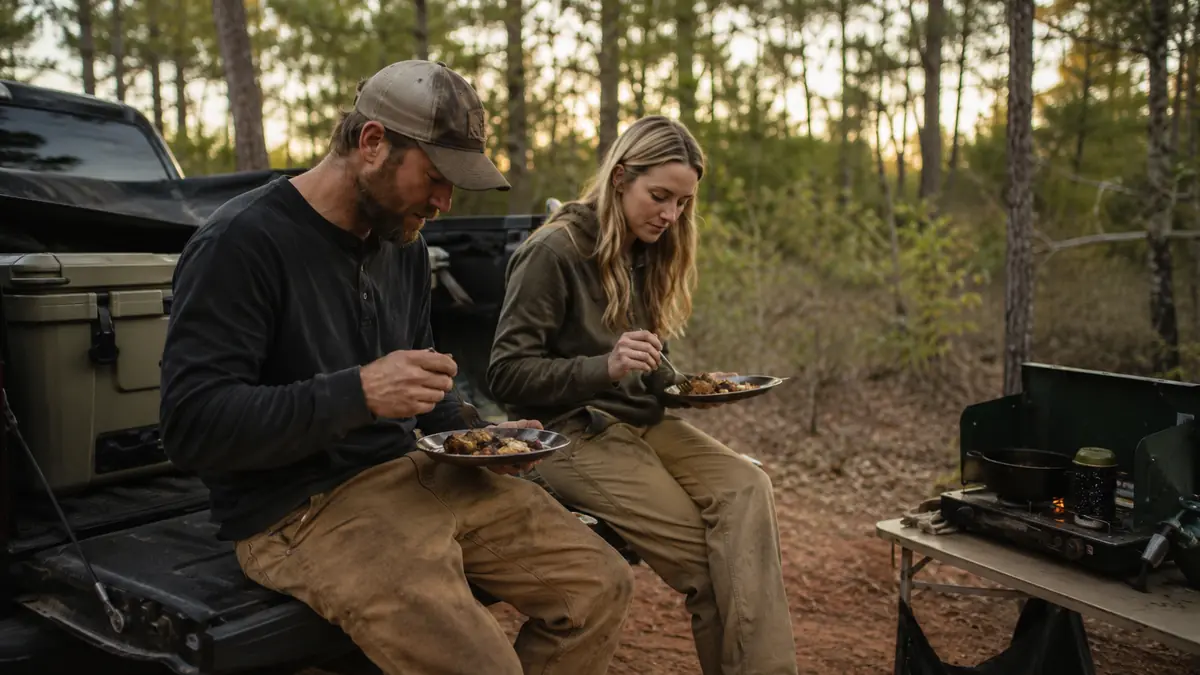
Cooking a full camp meal on one burner just means cooking in the right order instead of all at once. Rice, beans, or anything that holds heat well should go first. Once it's done, wrap the pot in a towel or set a lid on it and it'll stay hot for a good fifteen to twenty minutes while you free up the burner for the protein or the vegetables.
Keeping a lid on whatever's simmering does double duty. It traps heat so things cook faster on the same flame setting, and it cuts down on fuel use over a multi-course meal. If you've got a second small pot, you can stagger a side, like beans warming on residual heat set to the side of the flame while the main pan does the real work in the center of the burner.
Organize your prep before you ever light the stove. Chop vegetables, portion meat, and measure seasoning ahead of time, laid out on the tailgate or table in the order you'll use them. A single-burner setup punishes disorganized cooking because there's no second burner to bail you out while you dig through a cooler for the next ingredient.
Step 5: Shut Down, Ventilate, and Clean Up
This is the one rule that isn't negotiable. Never run a gas camp stove inside a sealed tent, a camper with the windows shut, or any vehicle. Carbon monoxide has no smell and no color, and a stove that's perfectly safe cooking in open air can build up dangerous levels of it in an enclosed space fast. Cook outside, under an open awning, or with real airflow, every time, no exceptions, even in bad weather.
Once the meal's done, turn the fuel valve off at the source before you do anything else, and let the burner cool for a few minutes before you touch it or fold it back into its case. A stove packed away hot can scorch the case liner or, worse, still have enough residual heat to be a burn risk when you go to grab it out of the truck later.
Once a season, and any time you swap fuel sources, run a quick soapy water check on the connection point. Mix a little dish soap with water, dab it on the threads where the canister or hose meets the stove, and turn the fuel on without lighting it. Bubbles forming at the joint mean a leak, and that stove doesn't get lit again until it's fixed. It takes two minutes and it's the cheapest insurance you'll ever buy for cooking a real camp meal instead of just eating cold food out of caution.
Wipe down the grate and burner top once it's cool, especially if anything boiled over, since dried food buildup can clog the burner ports over time and give you an uneven flame on the next trip. Check that the fuel canister or propane bottle is sealed properly and store it separately from the stove itself. A few minutes of cleanup at the end of a meal is what keeps a portable stove lighting reliably trip after trip instead of sputtering the one time you really need it.
What Else Helps
A good cast iron skillet holds heat evenly and travels well, which makes a real difference once you're actually searing something instead of just boiling water. A small cutting board, a basic spice kit, and a folding table or a clean tailgate give you a real workspace instead of balancing everything on your knee. None of that fixes a bad heat source, but paired with a stove you can actually control, it's what turns camp food from survival calories into something you look forward to. That's basically why I switched off the fire pit for good, once I could hold a real simmer without babysitting coals or waiting on wet wood to catch.
I also keep a spare butane canister and a half-full propane bottle in the truck at all times, since running out of fuel halfway through a meal is its own kind of camp disaster. A little meal planning before you leave home goes further than expensive gear ever will. Write out what you're cooking each night, prep what you can ahead of time, and you'll spend more of the trip eating and less of it standing over the stove trying to improvise dinner from whatever's left in the cooler.
The fire pit gives you smoke, unpredictable heat, and a burnt dinner nine times out of ten. A portable stove gives you a dial you can trust, and that's really all cooking a real meal at camp comes down to.
Five steps, one dial, dinner that actually tastes like dinner.
Set up out of the wind, learn your heat zones, cook proteins to a safe temperature, sequence your pots, and shut it down clean. That's the whole process, and it's why the Gas One GS-3400P has stayed in the truck bed longer than any stove I've owned.
Amazon Check Today's Price on Amazon →