
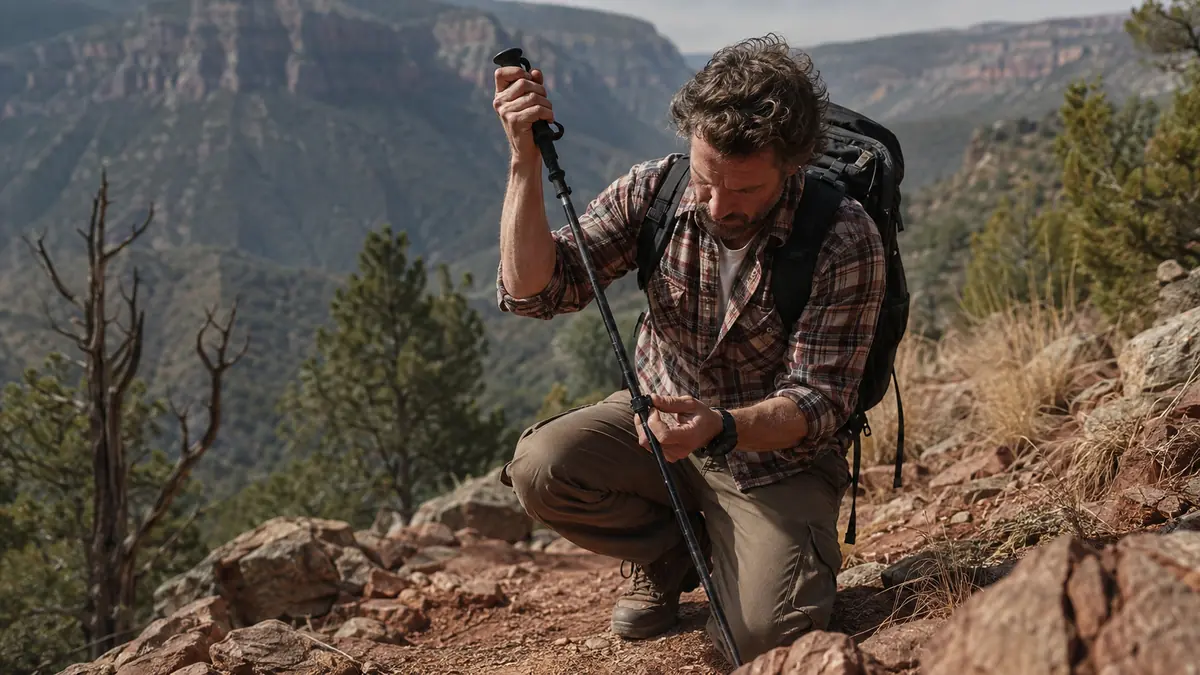
I spent three seasons hiking with my trekking poles locked at one length, the length I set the day I bought them and never touched again. It worked fine on flat fire roads. It was miserable on anything steeper than a gentle grade, and by the time I was picking my way down a scree field in the Wind River Range with my poles jammed too long under my armpits, catching on brush and throwing my balance off with every step, I finally understood why the flip-locks on a good pair of poles aren't just for packing them down to fit in a duffel. Learning how to adjust trekking poles for steep trails changed the way I move on a mountain more than almost any other piece of gear I own. Everything below is what I do on my own TrailBuddy poles, but the technique carries over to any adjustable pair.
The mistake almost everyone makes, myself included for longer than I'd like to admit, is treating pole length as a set-it-and-forget-it number. It isn't. The right pole length for a climb is wrong for a descent, and the right length for a straight uphill grind is wrong again on a side-hill traverse. This guide walks through the adjustments I make on every hike that has real elevation in it, using the TrailBuddy poles I've carried through two full seasons now. I go into more depth on the poles behind this method in a separate review, and there's a longer explanation of why the adjustment matters for your knees if you want the full picture on load and impact. Here, we're just covering the technique, from setting a baseline on flat ground to choosing the right tip for mud, snow, and bare rock.
Poles that actually hold their length on a steep descent.
The TrailBuddy flip-locks have held tight through switchbacks, scree fields, and creek crossings without slipping down mid-stride, which is the one thing that will wreck your confidence on a steep trail faster than anything else.
Amazon Check Today's Price on Amazon →Step 1: Set Your Baseline Length on Flat Ground
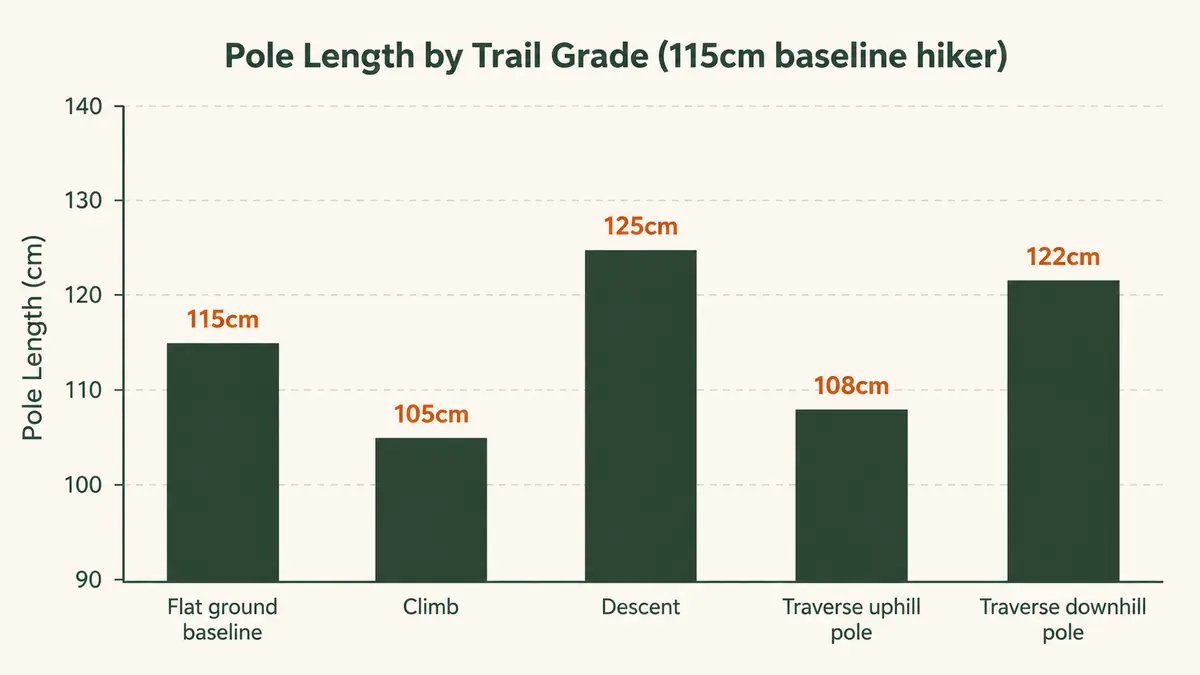
On level ground, stand up straight in your boots, grip the pole handle, and let your arm hang relaxed at your side. Your elbow should bend to roughly 90 degrees when your hand is on the grip and the tip is touching the ground next to your foot. That's your baseline length, and it's the number you'll adjust up and down from for the rest of the hike. For a hiker with a 115-centimeter flat-ground baseline, that means dropping to roughly 105 centimeters on a moderate to steep climb and stretching out to roughly 125 centimeters on a steep descent, with the uphill pole on a side traverse settling around 108 centimeters and the downhill pole around 122. Your own baseline depends on your height and arm length more than any chart can tell you, so use those numbers as a proportion, not a rule.
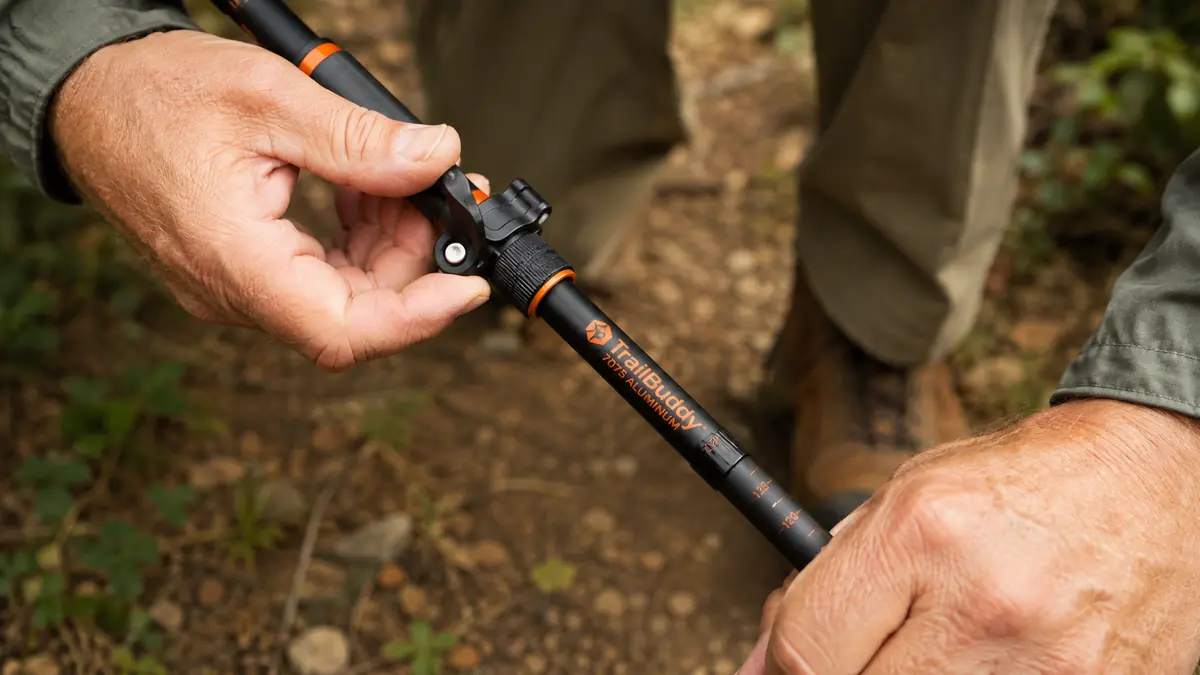
Mark that baseline somehow, a strip of tape on the shaft, a permanent marker dot, whatever sticks. I scratched a small notch into the lower shaft of my TrailBuddy poles with a knife tip the first week I owned them, so I can find flat-ground length again in the dark without squinting at the flip-lock numbers stamped into the aluminum. It sounds like overkill until you're resetting your poles at a trailhead at 5am and don't want to fumble with it in the cold.
Test the baseline by walking a flat stretch before you start climbing. The pole tip should land just behind your front foot with a natural, relaxed plant, not reaching forward awkwardly or dragging behind you. If your shoulder's hunching up to make the grip work, the pole's too long. If you're bent forward at the waist to reach the ground, it's too short.
Step 2: Shorten Your Poles for the Climb
Once the trail tips upward, shorten each pole by roughly 5 to 10 centimeters from your flat-ground baseline, more on a steep pitch, less on a gradual grade. A shorter pole lets you plant it further up the slope and drive through it with your arm in a stronger position, instead of reaching down and back at an angle that does nothing but tire out your shoulder.
I do this in stages rather than guessing the final number all at once. On a moderate climb I'll drop each pole about 5 centimeters. On something steep enough that I'm occasionally using my hands on rock, I'll go closer to 10. The TrailBuddy flip-locks make this fast, a quarter turn releases the tension and you can reset length in about five seconds per pole without taking your pack off.
A shortened pole also changes your plant rhythm. On a climb I plant the pole tip roughly level with or slightly ahead of my lead foot and push down and back through my palm, using the pole to help drive my hips forward rather than just for balance. It's a small mechanical assist, but on a long switchback climb it adds up over a few thousand feet of gain.
On a really steep pitch I'll also shorten my stride and pair the shorter pole length with what climbers call the rest step, pausing briefly with my weight stacked over a straight back leg before the next stride. The poles do more work in that pause than most people expect, taking enough load off my legs that I can keep a steady pace on a climb that would otherwise have me stopping every hundred yards to catch my breath.
Step 3: Lengthen Your Poles for the Descent
Going downhill is the opposite problem, and it's the adjustment most people skip entirely, which is exactly what I used to do before that scree field taught me otherwise. Lengthen each pole by 5 to 10 centimeters past your flat-ground baseline, so the tip reaches the ground well ahead of your body on a steep pitch without you having to hunch forward to find it.
A longer pole on a descent gives you a stable third and fourth point of contact out in front of your feet, which matters most when the trail is loose, wet, or dropping away fast. Plant the tip ahead of your lead foot, let your arm absorb some of the load as your weight comes down and forward, and you'll feel noticeably less shock traveling up through your knees with every step. That load relief on the way down is a big part of why serious hikers carry poles in the first place.
On a genuinely steep descent, I'll go all the way to about 10 to 15 centimeters longer than baseline, more than most guides recommend, but it keeps my torso more upright instead of leaning forward over poles that are too short, which is what actually causes people to stumble on loose rock.
Step 4: Use the Wrist Straps the Right Way
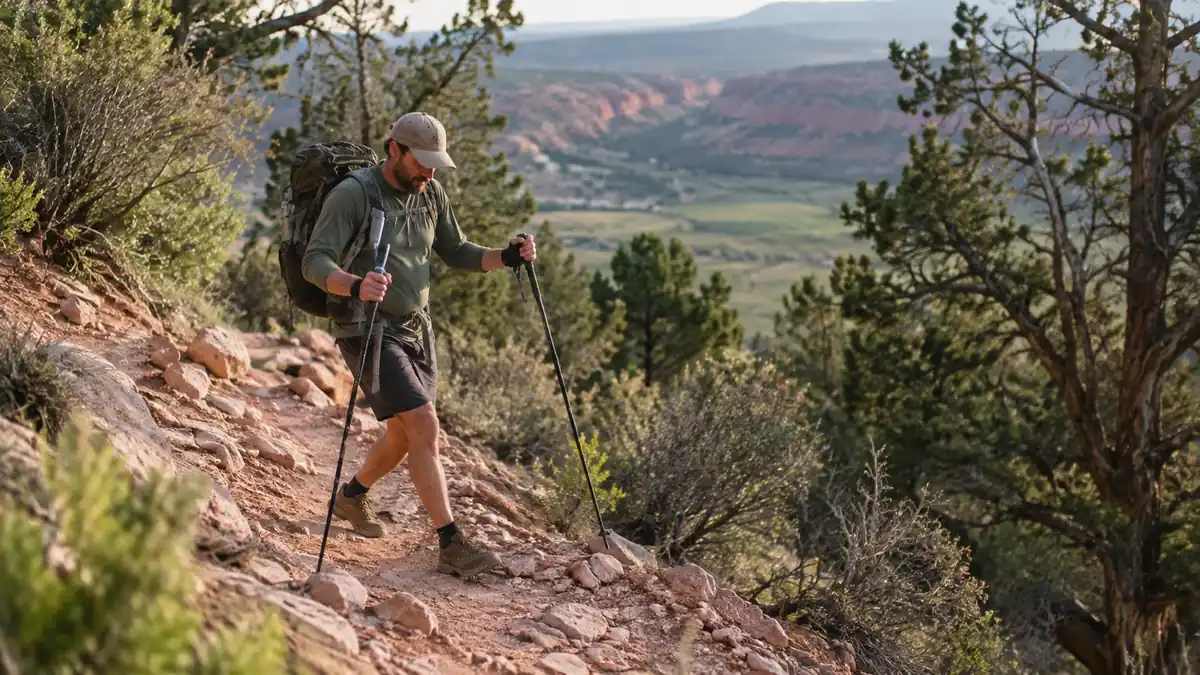
This is the adjustment almost nobody talks about, and it's the one that made the biggest difference once I finally did it right. Most hikers grip the pole handle like a ski pole and never think about the strap. Bring your hand up through the strap loop from underneath, so the strap crosses your palm and the back of your hand rests against it, then grip the handle loosely on top. Done right, your body weight rests on the strap, not on your grip.
The payoff is real. Once the weight's on the strap instead of your fist, you can relax your grip almost completely and still get full support on a downhill plant, which saves your forearms on a long descent and keeps your hands from cramping up by mile eight. I didn't believe it mattered until I hiked a full day the wrong way, gripping tight with no strap tension, and woke up the next morning with forearms sorer than my legs.
Plant timing matters here too. On flat and rolling ground I use an opposite-arm, opposite-foot rhythm, left pole plants with the right foot, right pole plants with the left foot, the same natural swing your arms already do when you walk without poles. On a steep climb or descent I'll sometimes plant both poles together for extra stability on an exposed step or an awkward move, then go right back to the alternating rhythm once the trail evens out.
Step 5: Adjust for a Side Slope Traverse
A straight climb or descent is the easy case. A side-hill traverse, where the trail cuts across a slope instead of running straight up or down it, calls for a different length on each pole. Lengthen the downhill pole and shorten the uphill pole so both tips reach the ground at roughly the same relative height, which keeps your shoulders level instead of tilted with the slope.
I'll usually go 5 to 8 centimeters shorter on the uphill side and the same amount longer on the downhill side from my flat-ground baseline, adjusted for how steep the traverse actually is. It feels lopsided the first few steps, and it should, because the ground under your feet is lopsided too. The TrailBuddy poles hold that mismatched setting fine through a long traverse, which matters, because a lock that creeps on a side slope is how a pole ends up jamming into loose scree at the worst possible moment.
Check flip-lock tension before you commit to a traverse or a steep pitch of any kind. Open the lock, and if the lever feels loose or spins with no resistance, there's a small tension screw on most flip-locks, including TrailBuddy's, that you can turn a quarter turn with a coin or a multitool to tighten the clamp. I check mine at the start of a season and again anytime a pole's been sitting collapsed in a gear closet for a few months, since the tension can loosen slightly even with no use.
On a traverse longer than a few hundred yards, I'll stop once about halfway across and recheck both locks by hand, since flexing through uneven ground works a locked shaft more than a straight climb or descent does. It only takes a few seconds and it's cheap insurance against a pole collapsing under weight on the exact terrain where you need it most.
What Else Helps
Length isn't the only adjustment that matters on steep terrain. The tip and basket you're running change how much bite you get on different surfaces. A bare carbide tip grips rock and hardpack well but skates on mud, so I'll swap in the small mud baskets any time the forecast calls for rain or I know I'm crossing a wet meadow. In snow, a wider snow basket keeps the tip from punching straight through to your wrist on every plant, which turns a pole into a shovel handle real fast if you leave the trail basket on by mistake. Rubber tip covers are worth carrying too, mostly for road walks between trailheads and dry rock slab where a bare carbide tip can skate out from under you.
Weight matters more on steep terrain than most people think when they're shopping for poles. A heavier pole doesn't just tire your arms faster over a long climb, it changes your plant timing, since a heavier tip takes longer to swing forward and set. The aluminum TrailBuddy shafts are light enough that I don't notice the swing weight even after a full day of switchbacks, which is part of why they've stayed my go-to pair over a couple of carbon models that looked better on paper but felt sluggish by the second summit.
The pole length that gets you up the mountain is the wrong length for getting back down it. Adjust twice a day, not once a season.
Dial in your poles once, adjust in seconds after that.
The TrailBuddy flip-locks reset length fast enough to actually use out on the trail, not just at the trailhead, which is the difference between poles that help on a climb and poles that just ride along on your wrists.
Amazon Check Today's Price on Amazon →