
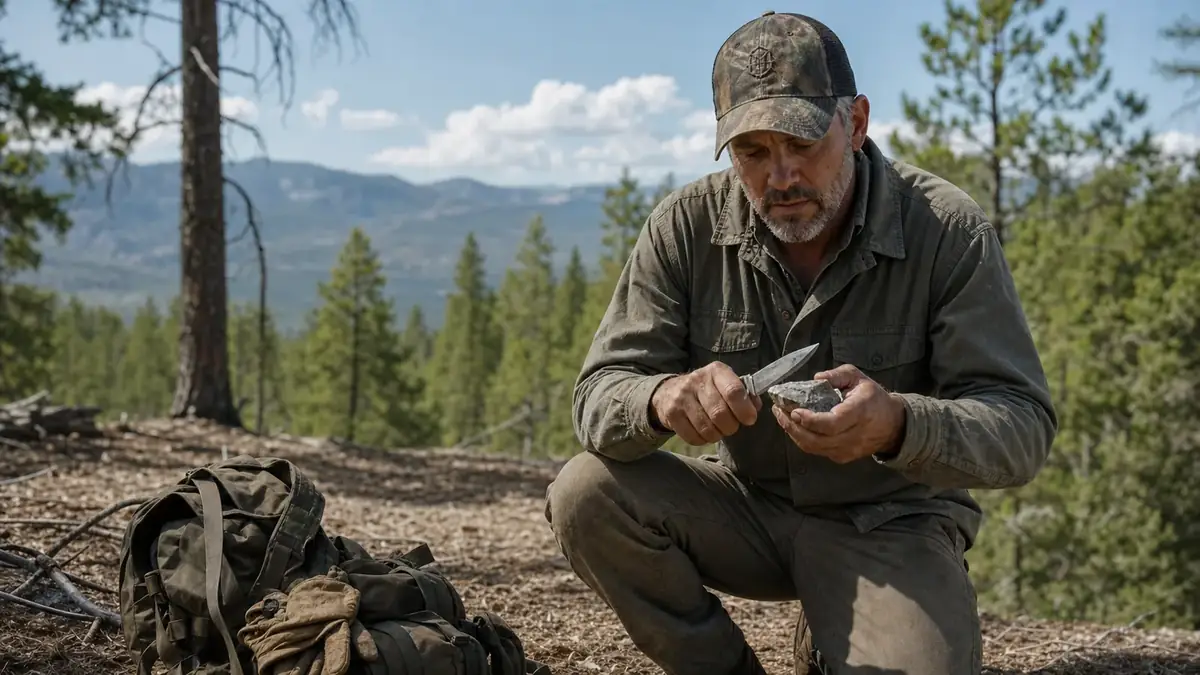
I've field dressed enough deer with a knife that had gone dull somewhere between the truck and the tree stand to know exactly what that feels like. You're sawing instead of cutting, your hand's cramping up, and you're second-guessing every stroke because a dull blade slips where a sharp one glides clean. That happened to me three seasons back on a buck I'd waited all week for, out past Atoka, and I swore right there I'd never let an edge get that far gone again without checking it first.
A fixed blade knife earns its keep around camp and out in the field, but only if the edge is actually doing its job. Sharpening in the field isn't the same as sharpening at your kitchen counter with good light, a bench stone, and all the time in the world. Out here you've got maybe ten minutes, cold hands, and whatever you packed in. The good news is you don't need much. A pocket stone, a steady hand, and a method you've already practiced before you need it for real is all it takes to bring a knife back from dull to dangerous, no shop trip required.
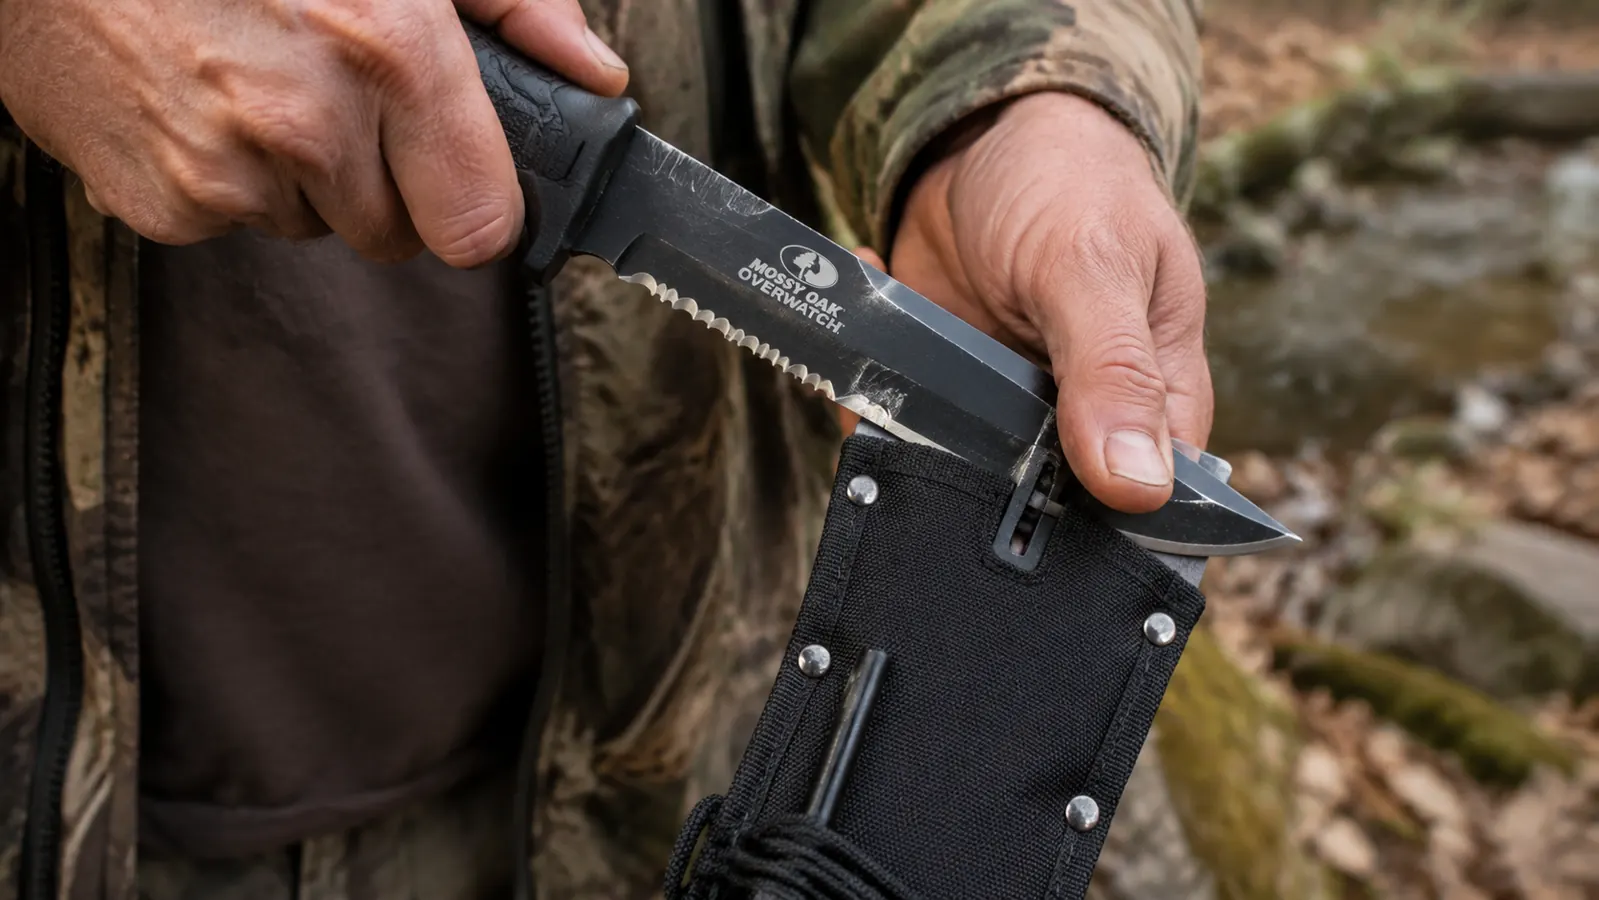
That's part of why I ended up carrying a Mossy Oak 15-inch survival knife as my go-to fixed blade for camp chores and field dressing both. It ships with a small sharpener built into the sheath itself, which sounds like a gimmick until you're standing in the timber with a dull edge and nothing else in your pack. It's not a substitute for knowing the steps below, it's just one less thing you have to remember to bring, since the tool to fix a dull edge never leaves the knife it's protecting.
The knife I stopped worrying about mid-hunt
I carry the Mossy Oak 15-inch fixed blade because the sharpener and fire starter ride right on the sheath, no separate pouch to dig for. It holds an edge through a full weekend of camp chores and field dressing, and it's ready to touch up in under two minutes.
Amazon Check Today's Price on Amazon →Step 1: Check the edge before you ever reach for a stone
I don't sharpen a knife just because it's been a while since the last touch-up. I check it first, because a knife that's still cutting clean doesn't need a stone taken to it, and every pass on a stone removes a little steel you don't get back. Hold the blade up to the light at an angle. A sharp edge is a thin, dark line with no glare. A dull edge catches light and throws back a dull silver shine along the cutting edge itself, easy to spot once you know to look for it.
From there I run the blade lightly across a scrap of paper or a piece of paracord, not my thumb. A sharp edge slices through paper clean with almost no pressure. If it snags, tears, or needs you to saw back and forth, that knife needs work before you trust it on the next job, whether that's skinning out a deer, cutting kindling for the fire, or breaking down a tarp cord that's cinched up tight.
I also run a thumbnail test, dragging the edge lightly across my nail at a shallow angle without pressing down. A sharp blade bites in and grabs a little. A dull one slides across smooth like it's greased. None of these tests take more than thirty seconds, and they save you from sharpening a knife that was already fine, or worse, trusting one that wasn't when it counted most.
Step 2: Find the right angle and hold it steady
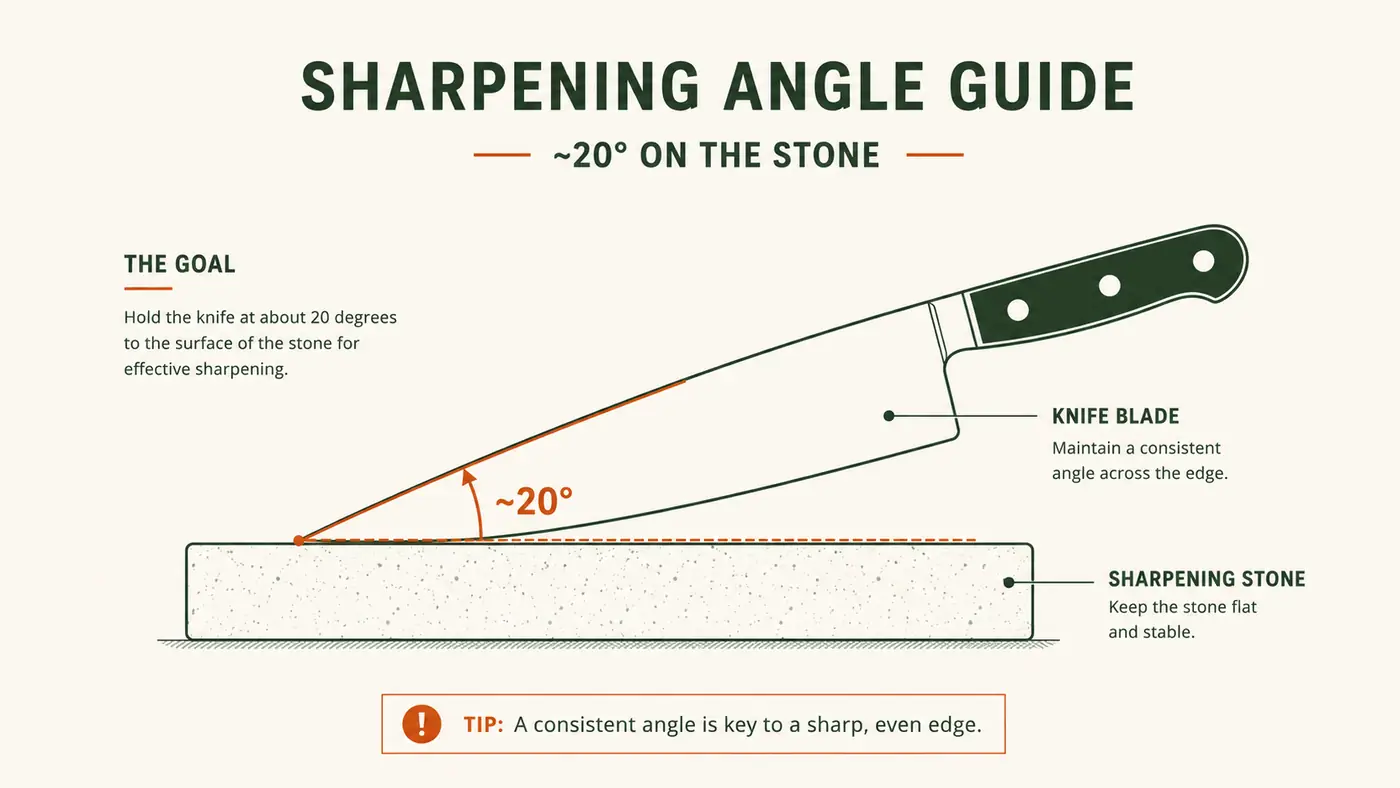
Most hunting and camp knives, the Mossy Oak fixed blade included, run somewhere around a 20 to 22 degree edge on each side. You don't need a protractor to hit that in the field. I picture a stack of two or three quarters standing between the spine of the blade and the stone, that's roughly the gap I'm holding as I draw the edge across.
What matters more than hitting the exact number is holding the same angle stroke after stroke. A knife sharpened at a slightly wrong angle but held consistent will out-cut one sharpened at the perfect angle with a wobbly hand. Inconsistency is what rounds off an edge instead of putting a true bevel on it, and a rounded edge is what turns a knife into a butter spreader.
I brace my elbows against my knees or a rock when I'm sharpening in the field, anything that takes the shake out of my arms. Wind, cold hands, and an uneven seat all work against you out there, so anything you can do to steady your base hand and your stone hand pays off in the finished edge. On a cold morning I'll even tuck my off elbow against my ribs to kill the last bit of wobble.
If you're not sure you're holding the angle right, a cheap trick is coloring the edge bevel with a dark marker before your first few strokes. Take one or two passes, then check where the marker's been scraped off. If it's only coming off the very tip of the bevel, you're holding the angle too high. If it's wiping clean off the whole bevel evenly, you've found your angle. Do that once or twice at home and your hands will remember it in the field without needing the marker again.
Step 3: Work the blade against the stone or the included sharpener
With a flat pocket stone, I lay the blade at my angle, then draw it across the stone edge-first, like I'm trying to shave a thin layer off the surface of the stone itself. Same motion you'd use slicing a piece of fruit, moving the whole blade across the stone in one smooth pull, heel to tip.
I alternate sides every three to five strokes, not fifty strokes on one side and then the other. Sharpening one side too long builds a burr that curls over and makes the edge feel sharp when it's actually just folded metal that'll fold right back the first time it hits bone or wood.
The built-in sharpener on the Mossy Oak sheath works differently, it's a pull-through slot with fixed carbide or ceramic inserts set at the right angle already, so there's no guesswork. You draw the blade through in one motion, light pressure, same as you would honing a kitchen knife on a countertop sharpener. It won't put a brand new edge back on a badly damaged blade, but for maintaining an edge that's just gone a little dull between camp chores, it does the job in a couple of passes, one-handed if you have to.
I stop as soon as I feel the stone or the sharpener biting evenly across the whole length of the blade, not a fixed number of strokes. A blade with a chip or a rolled tip needs more passes on the coarse side before it ever gets to feel sharp again, while a blade that's just gone slightly dull from normal use might only need a dozen light strokes total to come back.
Step 4: Hone out the burr and strop the edge
After sharpening, run a finger gently along the opposite side of the edge, away from the blade, and you can usually feel a faint burr, a thin lip of folded metal. That burr has to come off or your knife will feel sharp for about five minutes before it folds over and goes dull again right when you need it.
To strop it out, I draw the blade backward, spine leading, across the smooth back of my belt or a folded piece of leather a few times on each side. No forward cutting motion here, just a light backward drag that knocks the burr off without adding a new one. In camp I've used the leg of my jeans in a pinch, it works fine as long as you keep the blade trailing, never leading into the fabric.
Finish with a few very light passes on the stone at the same angle, almost no pressure, just enough to true up the edge one last time. This last step is what separates a knife that's technically sharp from one that's actually ready to field dress a deer clean without dragging or tearing hide.
Step 5: Test the edge safely before you trust it
I don't test a freshly sharpened edge on my thumb, and I'd tell anyone else not to either. A blade sharp enough to trust is sharp enough to open you up before you feel it happen. Paper is the safest test. A properly sharpened knife slices through a sheet cleanly with almost no drag, no tearing, no sawing motion needed.
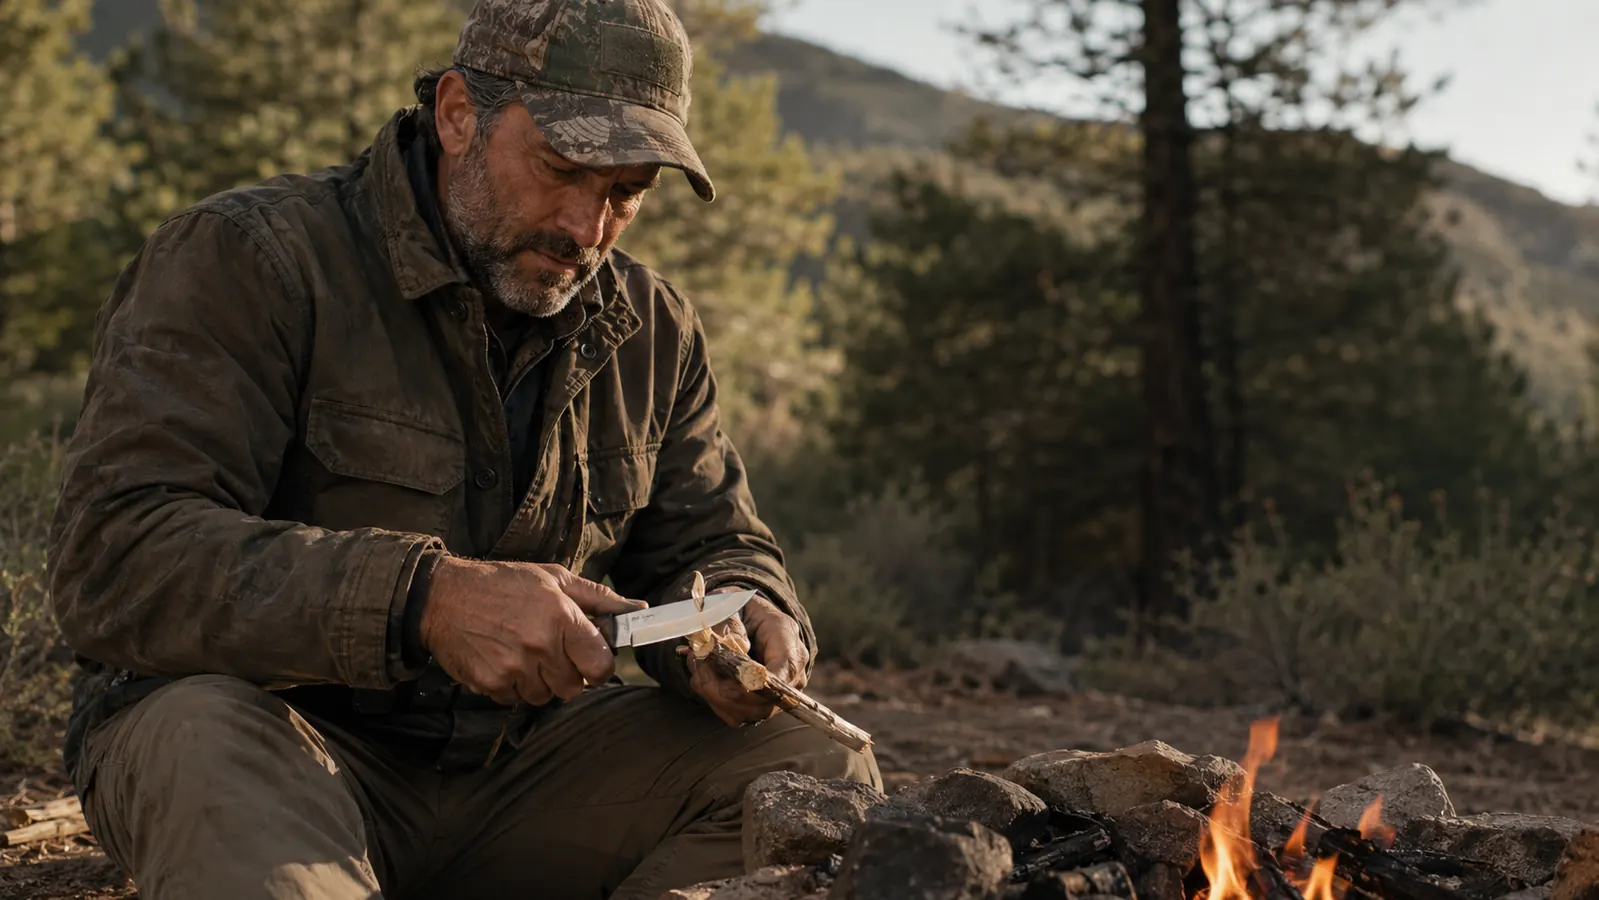
If I want a second check, I'll try shaving a thin curl off a dry stick, the same motion you'd use whittling kindling. A sharp edge peels off a clean, thin curl. A dull one just crushes the wood fiber or skips across the surface. That test tells you more about real-world performance than any amount of light checking will, and it doubles as kindling prep for the fire ring.
Whatever test you use, always cut away from your body, keep your off hand well clear of the blade path, and reseat the knife in its sheath the second you're done testing. Most of the cuts I've seen at deer camp over the years didn't happen while sharpening, they happened right after, when somebody got careless with a blade they'd just proven was sharp.
What Else Helps
A little maintenance between sharpening sessions goes a long way. I wipe the blade down after field dressing or heavy use, dry it completely before it goes back in the sheath, and run a light coat of oil on carbon steel blades if I know they'll sit a while before the next trip. Moisture left on a blade overnight is what causes the pitting that eventually ruins an edge no amount of sharpening can fix. On the Mossy Oak knife, I also keep the built-in fire starter rod dry and clean, since grit in that housing makes it harder to strike when you actually need it.
I keep a small folded piece of leather in my pack just for stropping, separate from my belt, since it's one less thing I have to think about mid-task. It weighs nothing and it means I can touch up an edge at lunch instead of waiting until the knife's gone truly dull by the end of the day.
I also check the sheath retention every so often, snapping the blade in and giving it a gentle shake upside down. A worn snap or a loose fit means a good knife walking off your belt somewhere between the truck and the stand, and that's a harder loss than a dull edge ever was.
A sharp knife isn't the one you admire in camp. It's the one that still cuts clean on the last chore of a long, cold day.
Carry the knife that sharpens itself in the field
The Mossy Oak 15-inch survival knife pairs a full-tang fixed blade with a sharpener and fire starter built right into the sheath, so keeping an edge in the field takes minutes, not a trip back to the truck.
Amazon Check Today's Price on Amazon →