
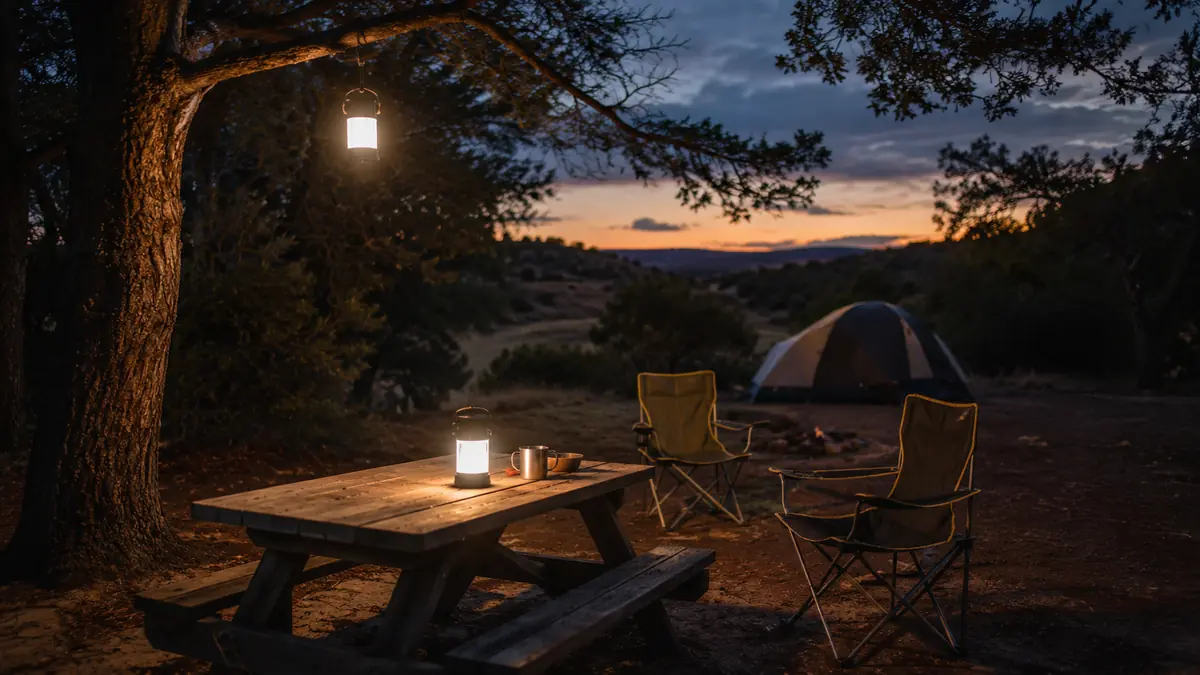
The first night I ever tried to run a camp off a single headlamp, I spent more time hunting for my knife in the dark than I did actually cooking dinner. One light source sounds like it should be enough until you're the one holding it, since everything you're not pointing it at stays pitch black. Good campsite lighting isn't about the brightest light you can buy. It's about where you put it, how many sources you're running, and whether you thought about it before the sun went down instead of after.
This is the setup I run now, and it hasn't let me down on a single trip since I switched to it. It starts with two lanterns instead of one, which is the whole reason I keep a two pack of Etekcity LED camping lanterns in the truck bin instead of a single big light. Two smaller lights beat one big one for almost every job around camp, and everything below covers why, plus where to hang them, how to keep the glare out of people's faces, and how to keep the batteries alive if the nights turn cold.
If you want the specifics on the lantern behind this setup, including how it's held up over repeat trips, I've written that up separately. And if you're still deciding between a lantern and a headlamp for camp use, why a lantern beats a flashlight here covers the reasoning in more depth.
One lantern lights a table. Two lights an entire camp.
The Etekcity 2-pack gives you a main light and a backup without doubling what you carry. Collapsible, battery operated, and small enough to disappear into a pack pocket when you're done with it for the night.
Amazon Check Today's Price on Amazon →Step 1: Start With Two Lights, Not One
A single lantern, no matter how bright, only solves one problem at a time. Set it on the picnic table and the far side of camp goes dark. Hang it over the tent and now the cook area is guessing in the dark. Two lights let you split the job, one for where people are eating and prepping food, one for the path to the tent or the fire ring, and neither one has to do double duty.
This is the actual reason I switched to the Etekcity 2-pack instead of carrying one large lantern with a headlamp as backup. Two identical lights mean I've always got a spare if one takes a fall into the dirt or the batteries die halfway through the trip, and I'm not stuck mixing a warm light with a cool one that throws shadows off in weird directions across the site.
For a group bigger than four or five people, I'll actually run three lights instead of two, splitting the cook area, the common sitting area, and the path to the tents into separate light pools rather than trying to stretch two lanterns across a bigger footprint. The math scales pretty simply from there: one light for roughly every zone people are actually using after dark.
Step 2: Pick a Height and Hang It or Set It Down
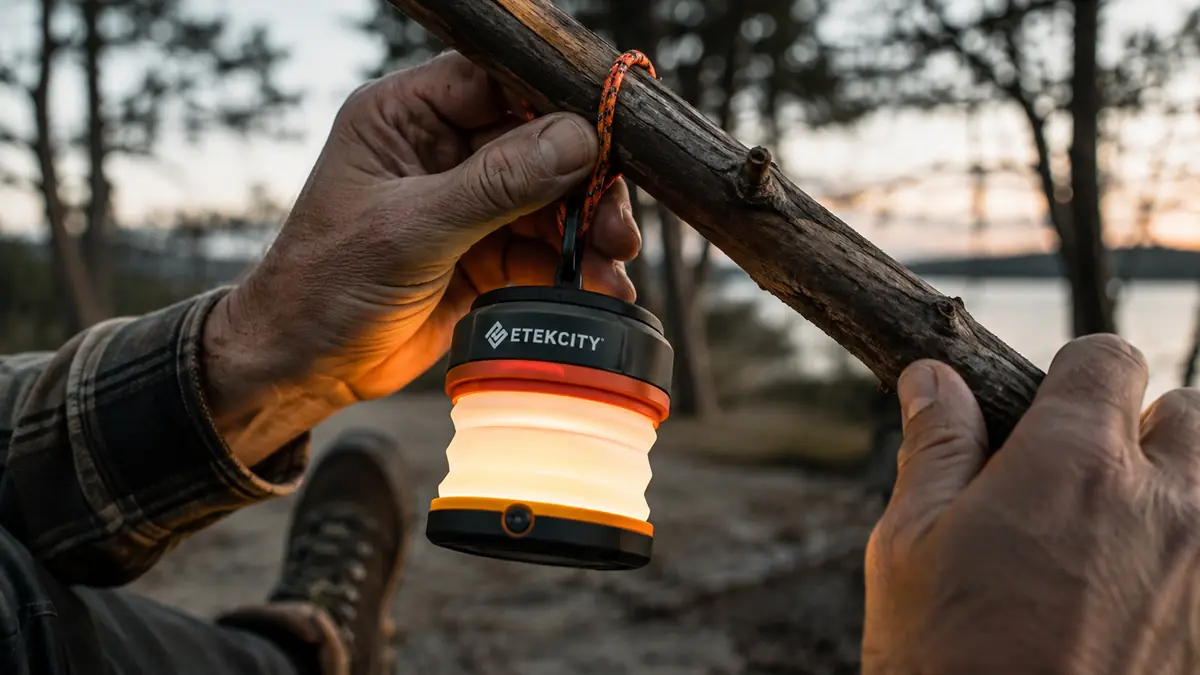
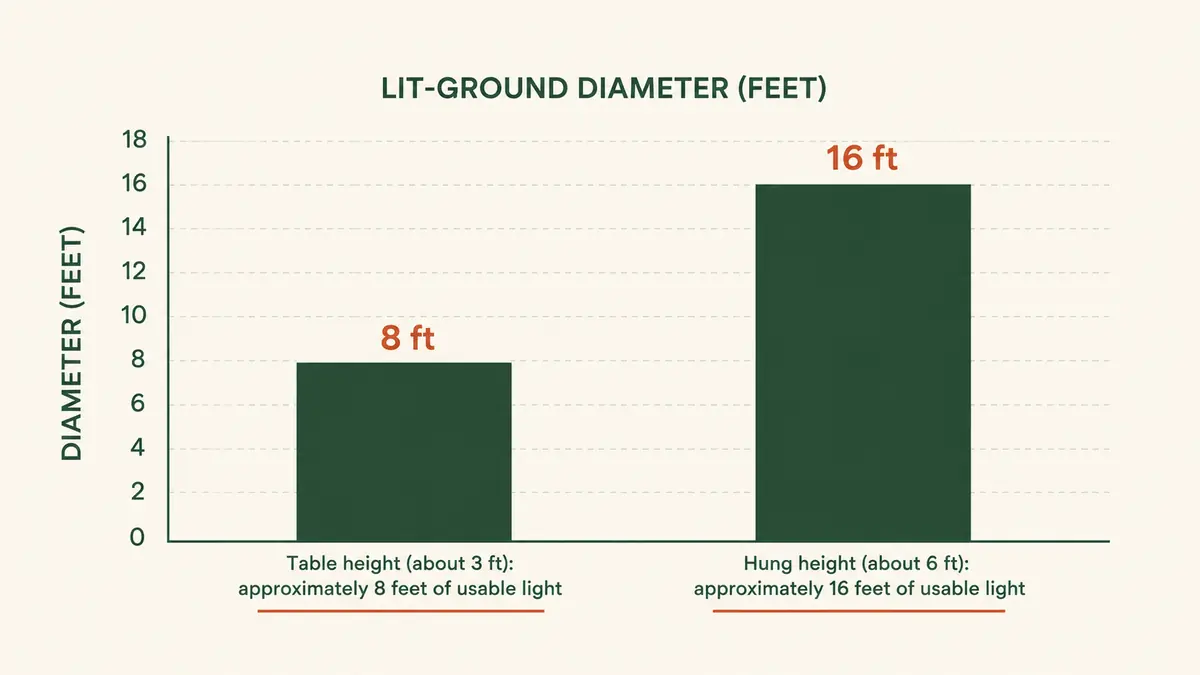
Where you put the light matters more than how bright it is. A lantern sitting flat on a picnic table lights the table fine and fades out fast past that, usually somewhere around 8 feet before people are back in shadow. Hang that same lantern from a tree branch or a ridgeline rope around 6 feet up, and the light spreads out instead of pooling, covering closer to 16 feet across the site.
Height also changes the kind of light you get. Up high, it acts more like a porch light, soft and general. Down on the table, it acts like a reading lamp, bright right where you need it and useless three steps away. I run one lantern hung at that 6 foot mark for general campsite lighting, and the second one down low on the table for cooking and cards.
Wind changes this calculation a little. A lantern swinging on a paracord loop in gusty conditions throws shifting shadows that get annoying fast, so on a windy night I'll drop the hung lantern to a lower branch, closer to 4 feet, and let the table lantern do more of the work. It's less about a hard rule for height and more about picking a spot that stays steady once you've set it.
Step 3: Keep the Light Out of People's Eyes
A lantern set up so it's shining straight into someone's face across the table isn't lighting the camp, it's just making everyone squint. I aim mine so the light comes from above or the side, never at eye level pointed at where people are actually sitting. That one adjustment does more for how a campsite feels at night than almost anything else in this whole setup.
If your lantern has a lower or diffused mode, use it for the general camp light and save the brightest setting for actual tasks like digging through a pack or reading a map. Most people over-light their own camp without realizing it, and a lantern that's too bright too close just flattens everything and makes the dark beyond it feel darker than it needs to.
Step 4: Protect Everyone's Night Vision
It takes your eyes something like 20 to 30 minutes to fully adjust to the dark, and one glance at a bright white lantern resets that clock instantly. If someone's got to walk down to the creek or check on the truck, that reset matters. I keep the brightest lantern pointed at the ground or table, not at head height where a stray glance ruins everyone's adjustment.
Plenty of lanterns, including the Etekcity, have a lower or warmer mode built in for exactly this. I'll drop to that setting once dinner's done and everyone's just sitting around, and switch back to full brightness only when someone actually needs to see something specific, like untangling a knot or finding a dropped fork in the grass.
Step 5: Give the Cook Area Its Own Light
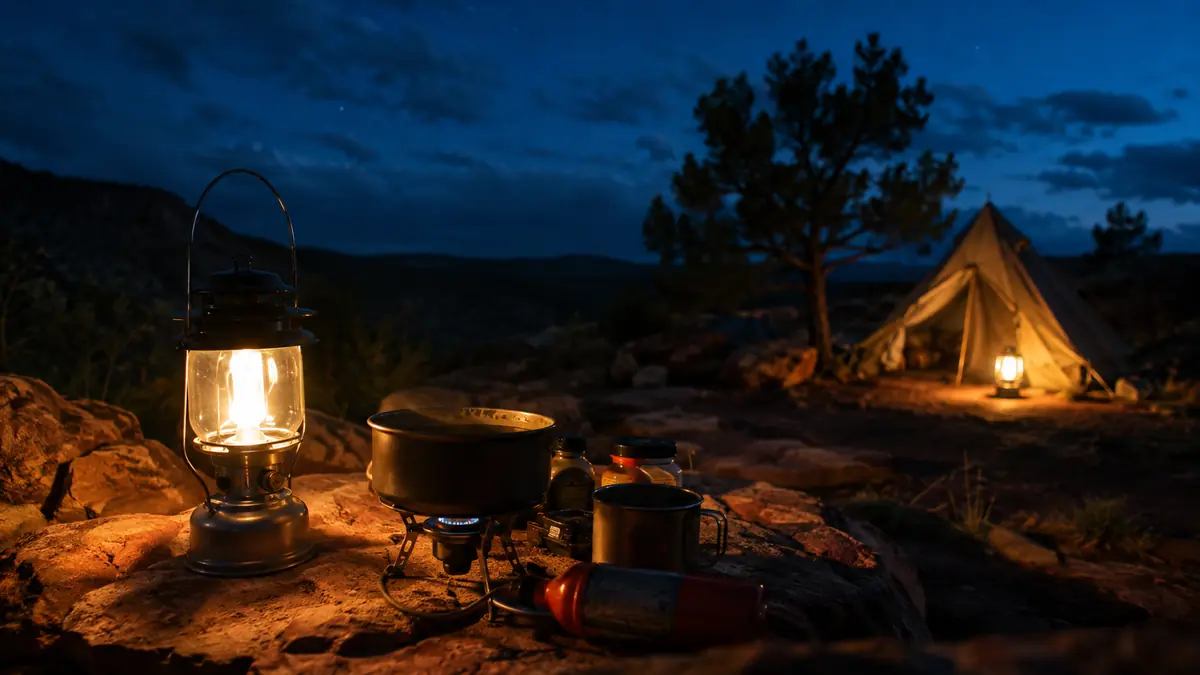
The cook area needs its own dedicated light, set low and close, so you can actually see what's browning in the pan and whether the propane's lit. I set one lantern right on the edge of the camp table or a nearby rock, close enough to throw real light on the stove without being close enough to catch a stray flame or tip over from a bumped elbow.
This is also where I run the lantern at full brightness, since food prep is the one job at camp where dim ambient light actually slows you down. Bugs come to bright light too, so I'll set it a foot or two off to the side of the actual food rather than right over the plates, which keeps the moths and gnats circling the lantern instead of the dinner.
Cooking under a tarp or a canopy changes the placement again. Keep the lantern low enough that it isn't lighting up the underside of the tarp like a lampshade, since that just bounces glare back down into your eyes while you're watching a pot. A few inches lower than you'd think, right around counter height, usually solves it.
Step 6: Keep the Sleeping Area Dim and Separate
The tent doesn't need the same light as the kitchen. A lantern on its lowest setting, or even just left outside the tent door rather than inside it, is plenty for finding a headlamp or a pair of socks. Bright light inside a tent turns the whole thing into a lit-up box that draws bugs to the mesh and makes it obvious to the rest of camp exactly what you're doing in there.
I keep the second lantern, the one that's not on cook duty, near the tent entrance on its dimmest mode once it's bedtime. It's enough to see by without waking anyone up or turning the tent into a beacon, and it means nobody's stumbling around with a headlamp at full blast at eleven at night looking for a toothbrush.
Step 7: Manage Batteries When It's Cold
Cold weather drains batteries faster than people expect, especially the standard batteries a lot of lanterns run on. I've had a lantern that ran fine all evening drop to half brightness by 2am on a cold night, just from sitting out in the cold air. Keeping a lantern in the tent vestibule overnight, rather than leaving it hanging outside all night, keeps the batteries closer to a workable temperature.
I also carry a spare set of batteries in an inside jacket pocket on cold trips rather than in the pack, since a cold battery loses charge faster than a warm one. The Etekcity's collapsible design makes it easy to pack that spare set right alongside the lantern body when it's folded down, so I'm not digging through a stuff sack half asleep trying to find batteries by feel.
Step 8: Pack Your Lights So You Can Find Them in the Dark
None of this matters if you can't find the lantern in the first place. I keep both lanterns in the same outside pocket every single trip, collapsed down, so my hand knows exactly where to go without needing a headlamp or a search. A lantern that's brilliant once it's on is useless if it's buried at the bottom of a pack under a sleeping bag.
Collapsible lanterns like the Etekcity pack flat enough to live in a side pocket or a door pocket in the truck, which is half the reason I switched to them in the first place. Consistent placement beats a better light every time, since the best lantern in the world doesn't help you if you're patting down your bag by feel at nine at night trying to remember which pocket you put it in.
What Else Helps
A couple small habits make any lantern setup work better. I'll clip a small backup light, even just a cheap keychain light, to my belt loop or pack strap as a get-me-to-the-tent option if both lanterns somehow go down at once, which has happened to me exactly once in a decade of camping. I also do a quick daylight walk of the site before dark, so I already know where the tent stakes, the fire ring, and the low branches are before I'm relying on lantern light to avoid them.
On multi-night trips I'll also rotate which lantern gets the fresh batteries and which one runs down first, so I always know which is the strong one if I need extra light in a hurry. It's a small habit, but knowing exactly which light in your hand is the reliable one matters more at 2am than it sounds like it would in daylight.
The brightest lantern in the world doesn't save you if it's pointed the wrong way. Where you put the light matters more than how much of it you've got.
Two lights, the right height, batteries that don't quit.
That's the whole system. The Etekcity 2-pack is the setup I run at camp now, one for the cook area, one for the tent, both collapsible enough to disappear into a side pocket when you're done.
Amazon Check Today's Price on Amazon →